I’ve been meaning to blog for a while, I think it’s about time I started.
So what am I going to be blogging about you ask?
Mostly about past work, materials I love and loathe, tips and break downs of processes. I’ve got loads of pictures and videos to upload.
One tip is to get on Tiktok. Look past the dances/comedy memes and you’ll find an audience waiting, wanting to learn about processes and interested in how it works. It’s really good for video editing videos for promotional use as well.
For now thats all. I hope to be posting once/twice a month if I have the time. Thanks for reading.
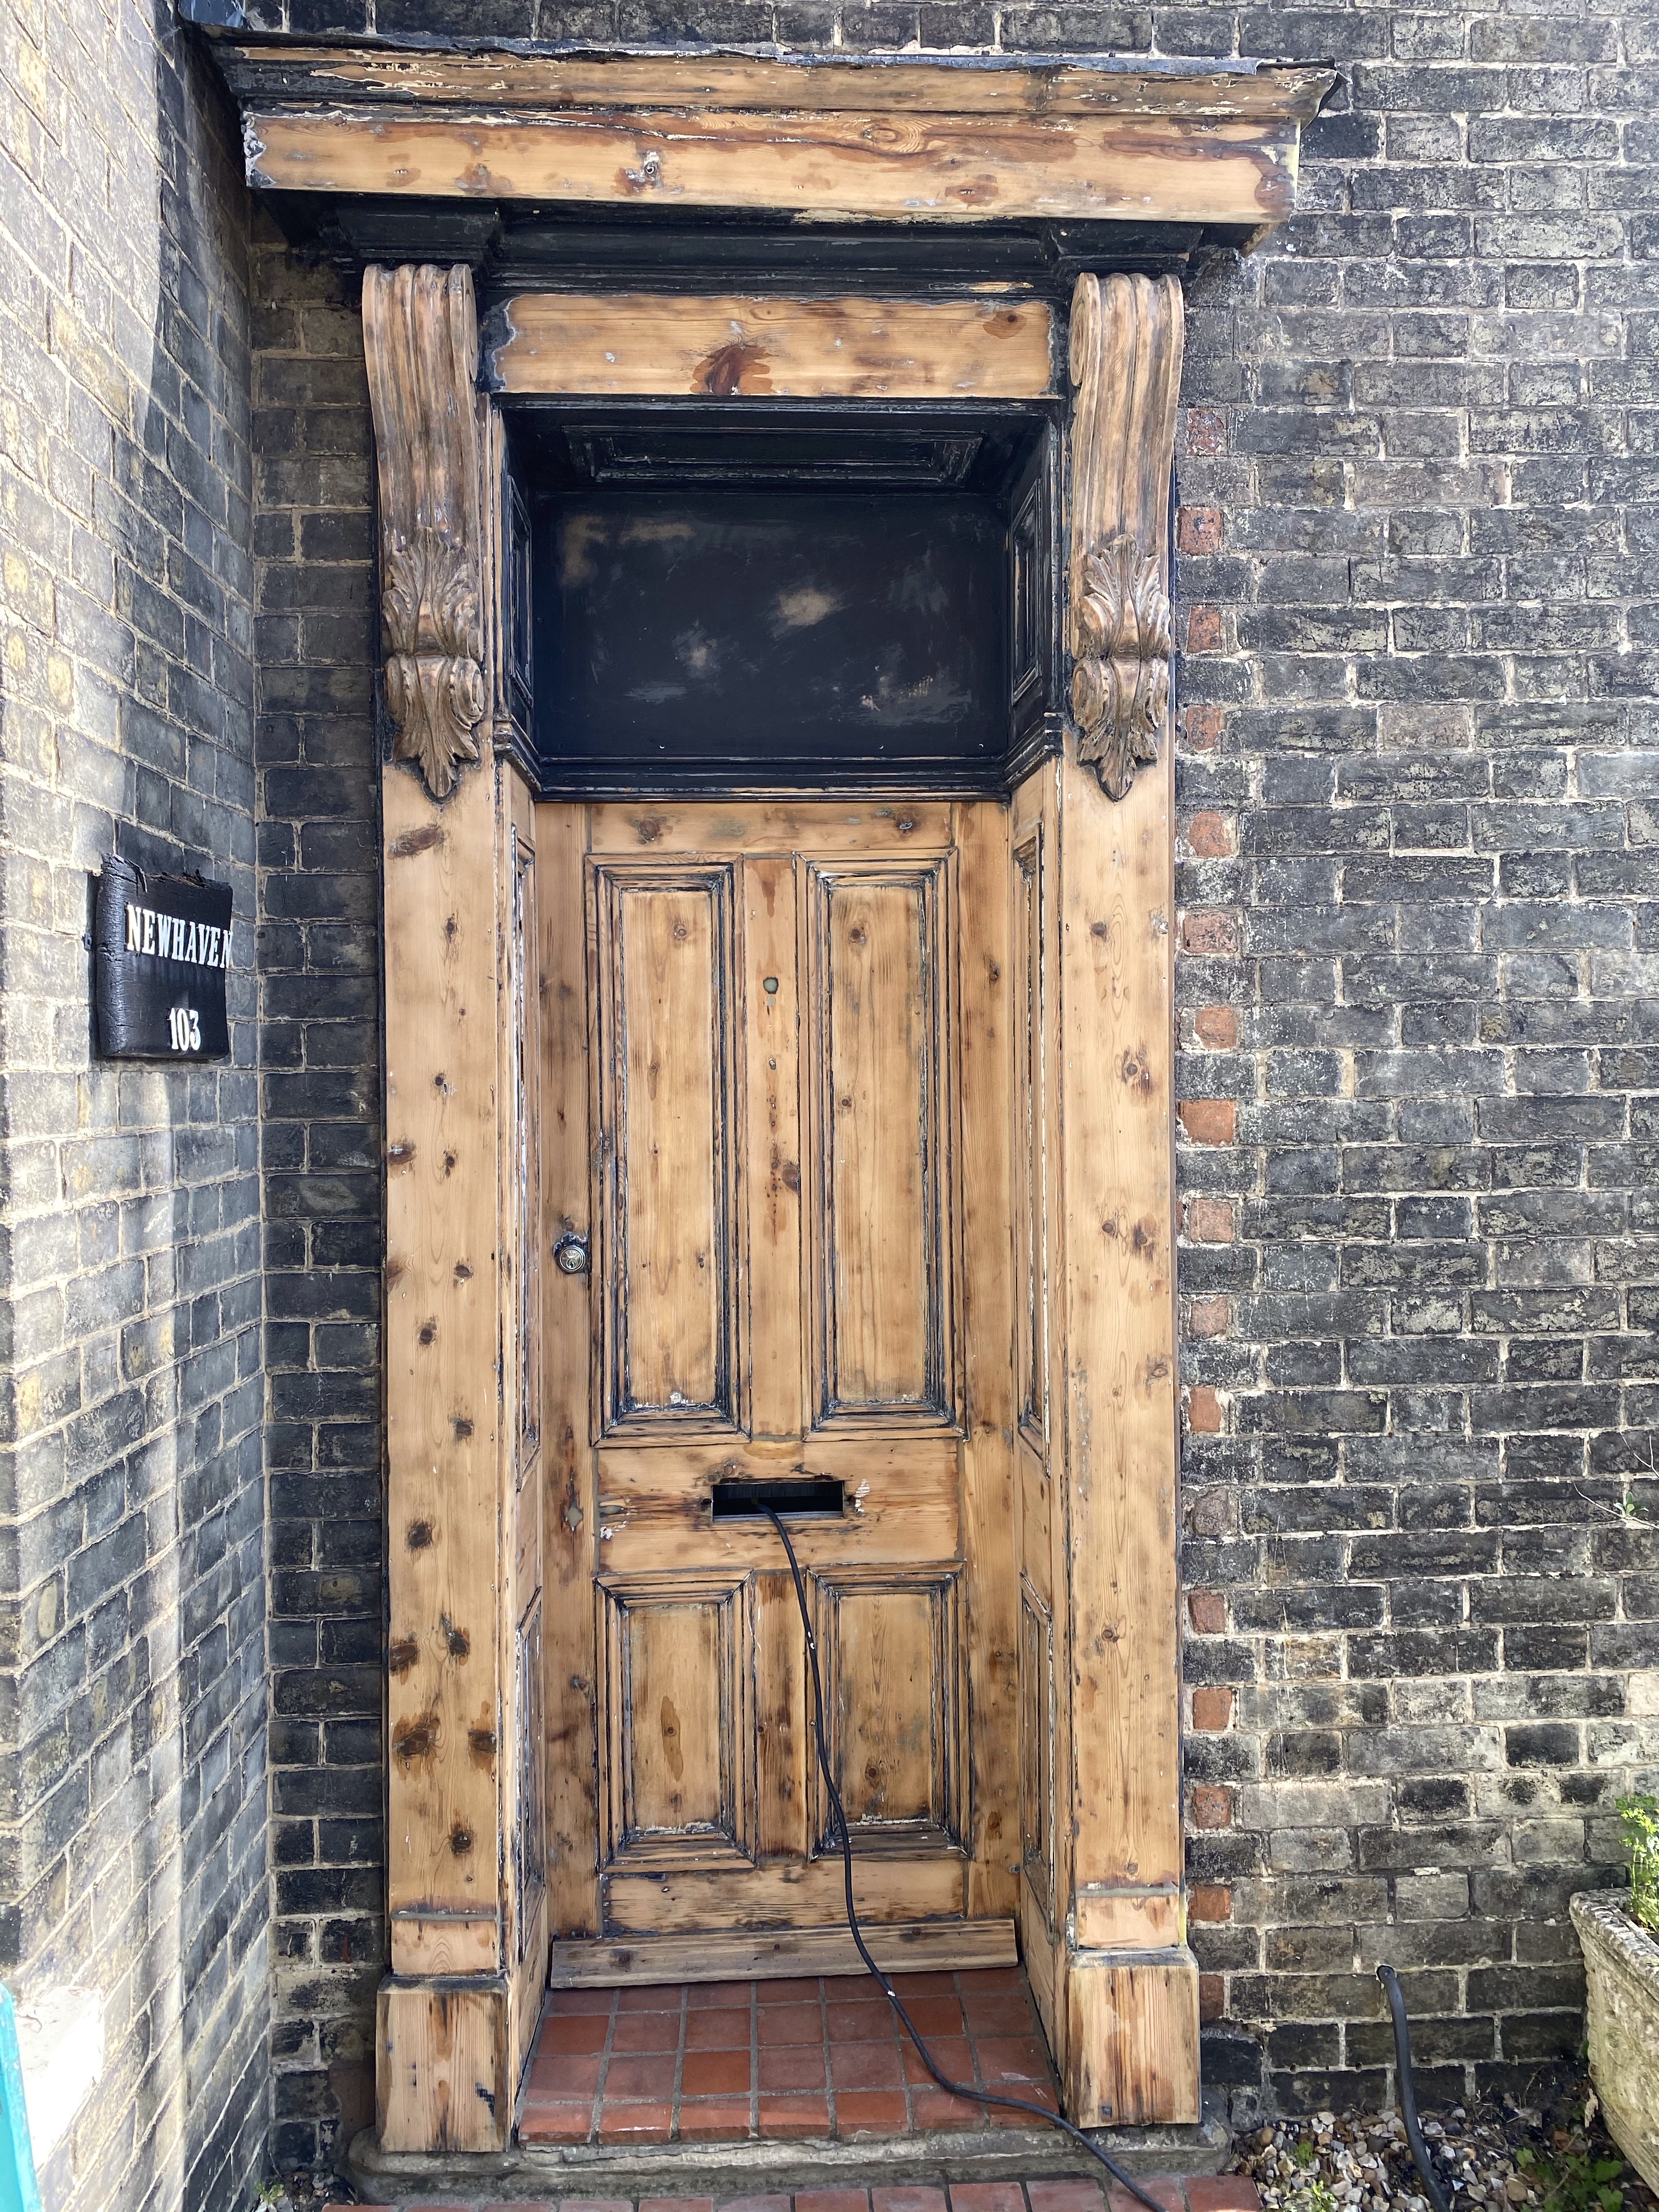
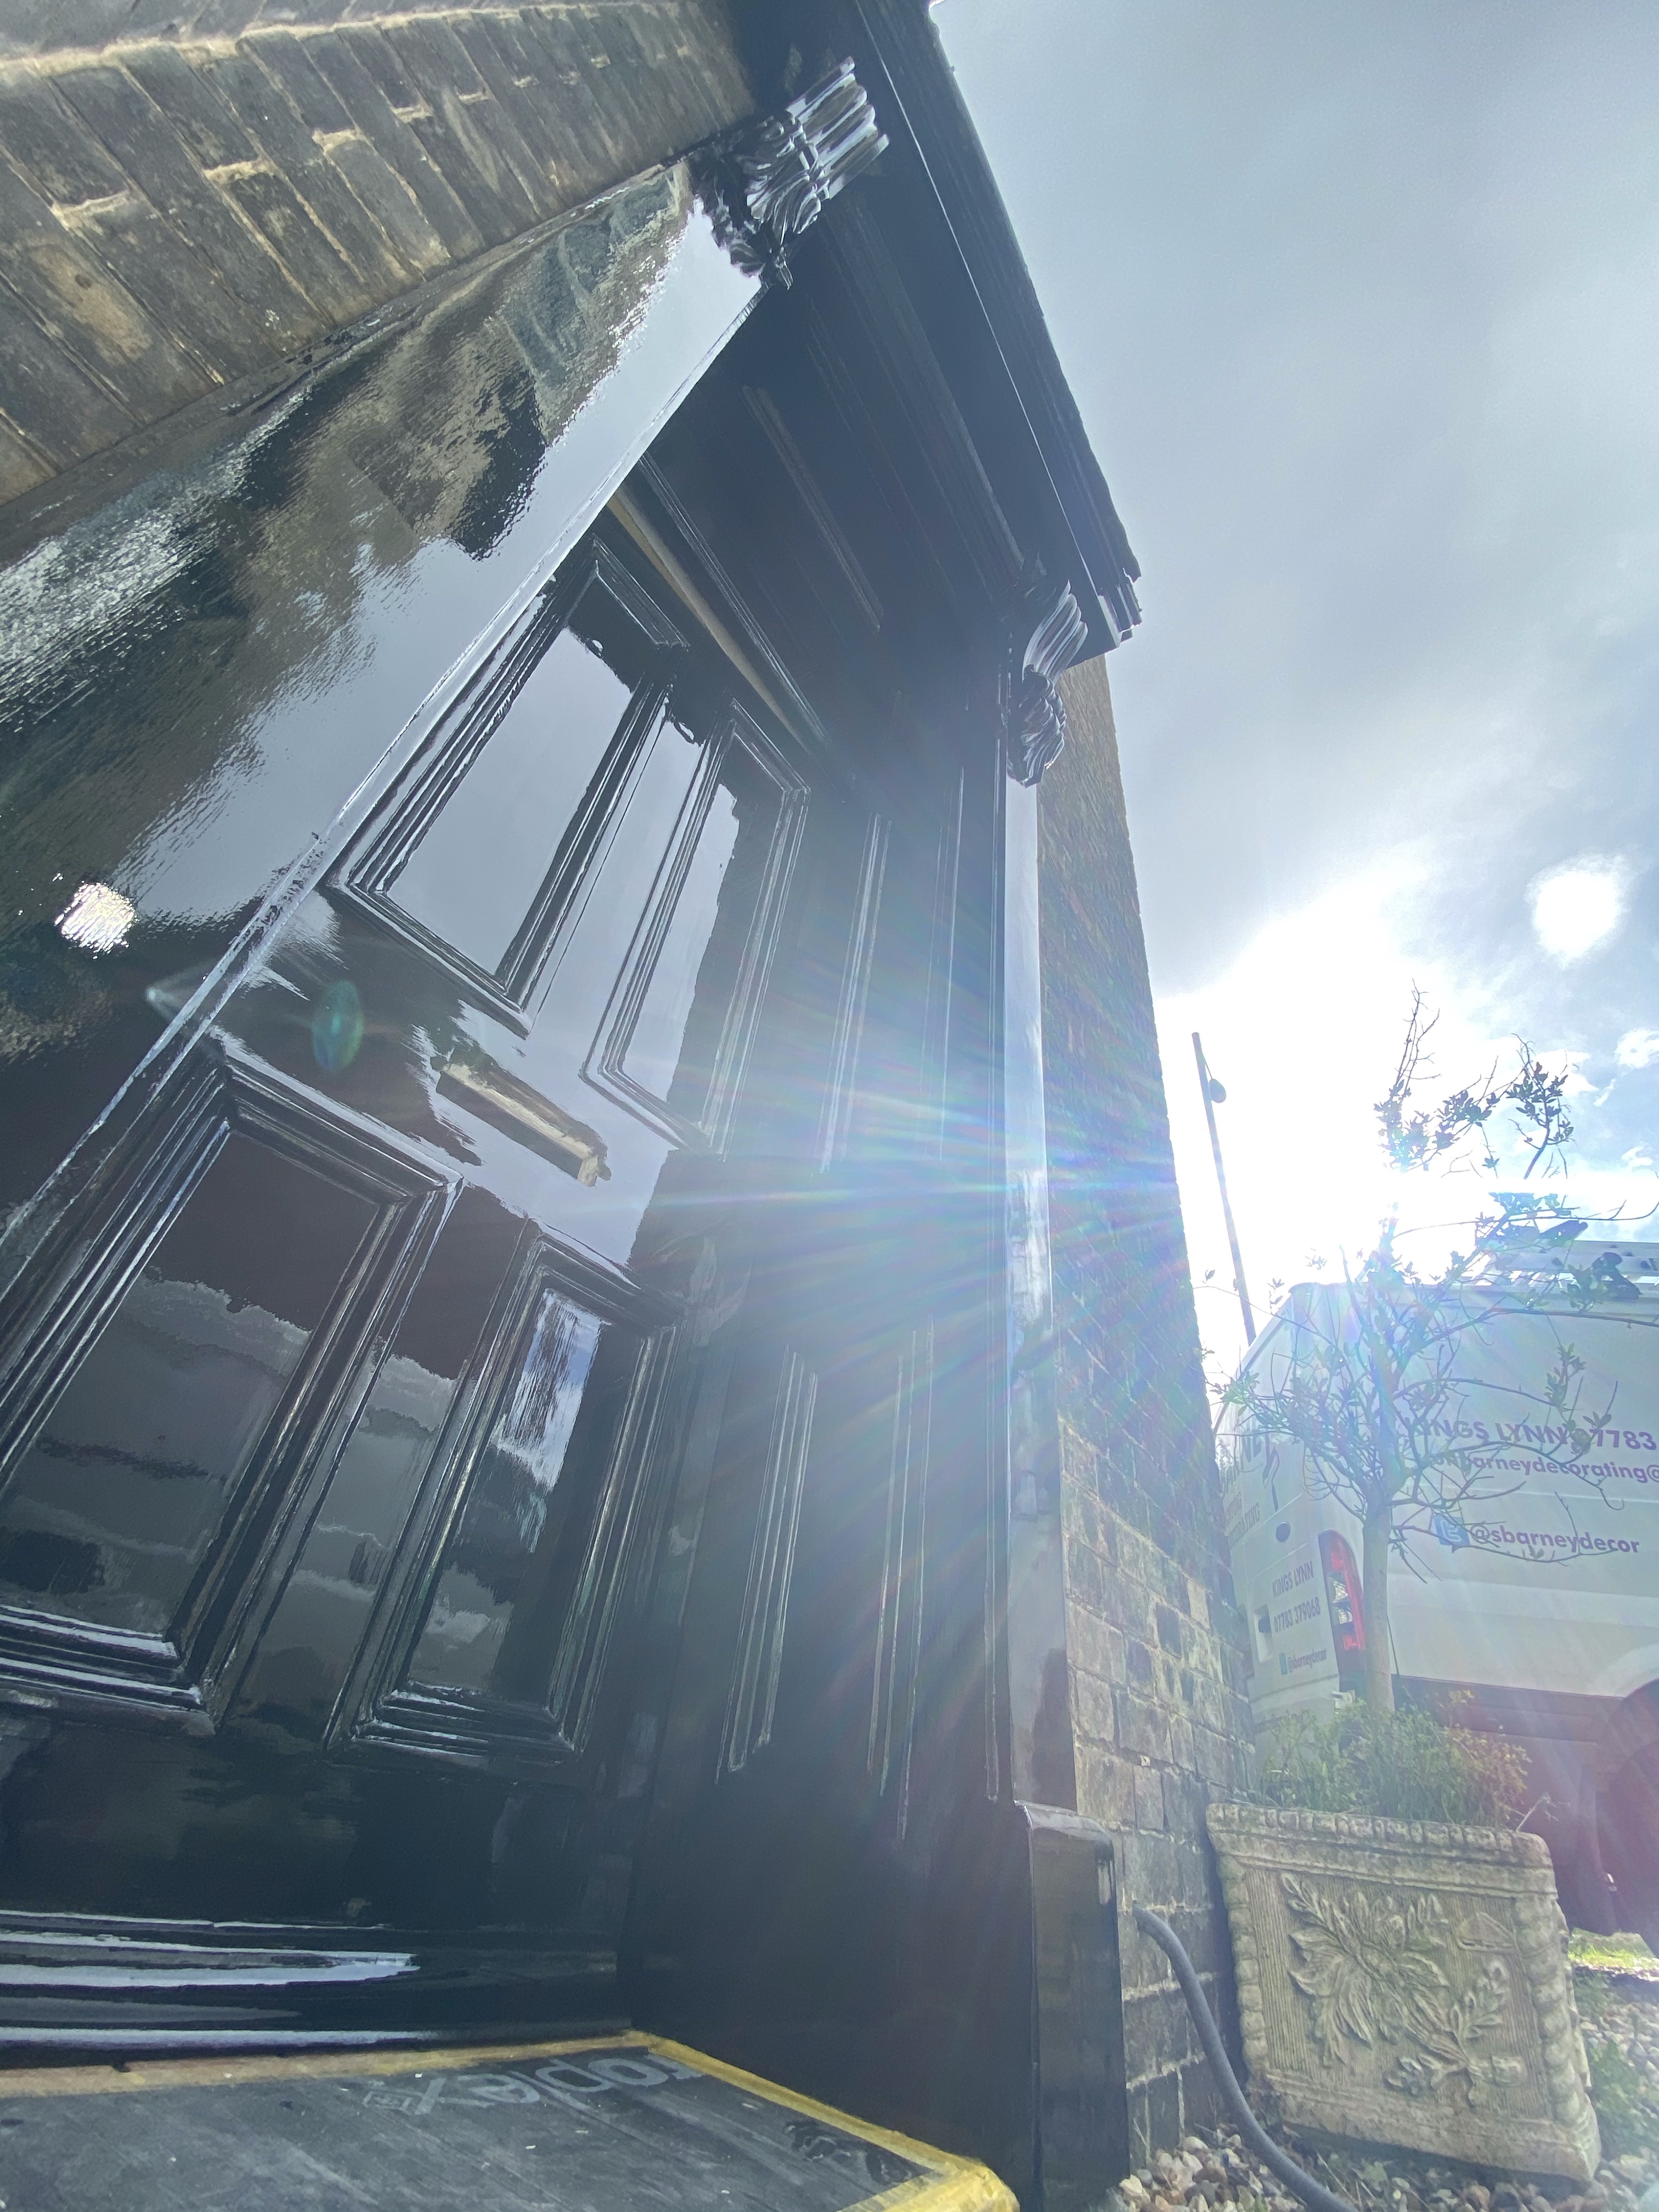
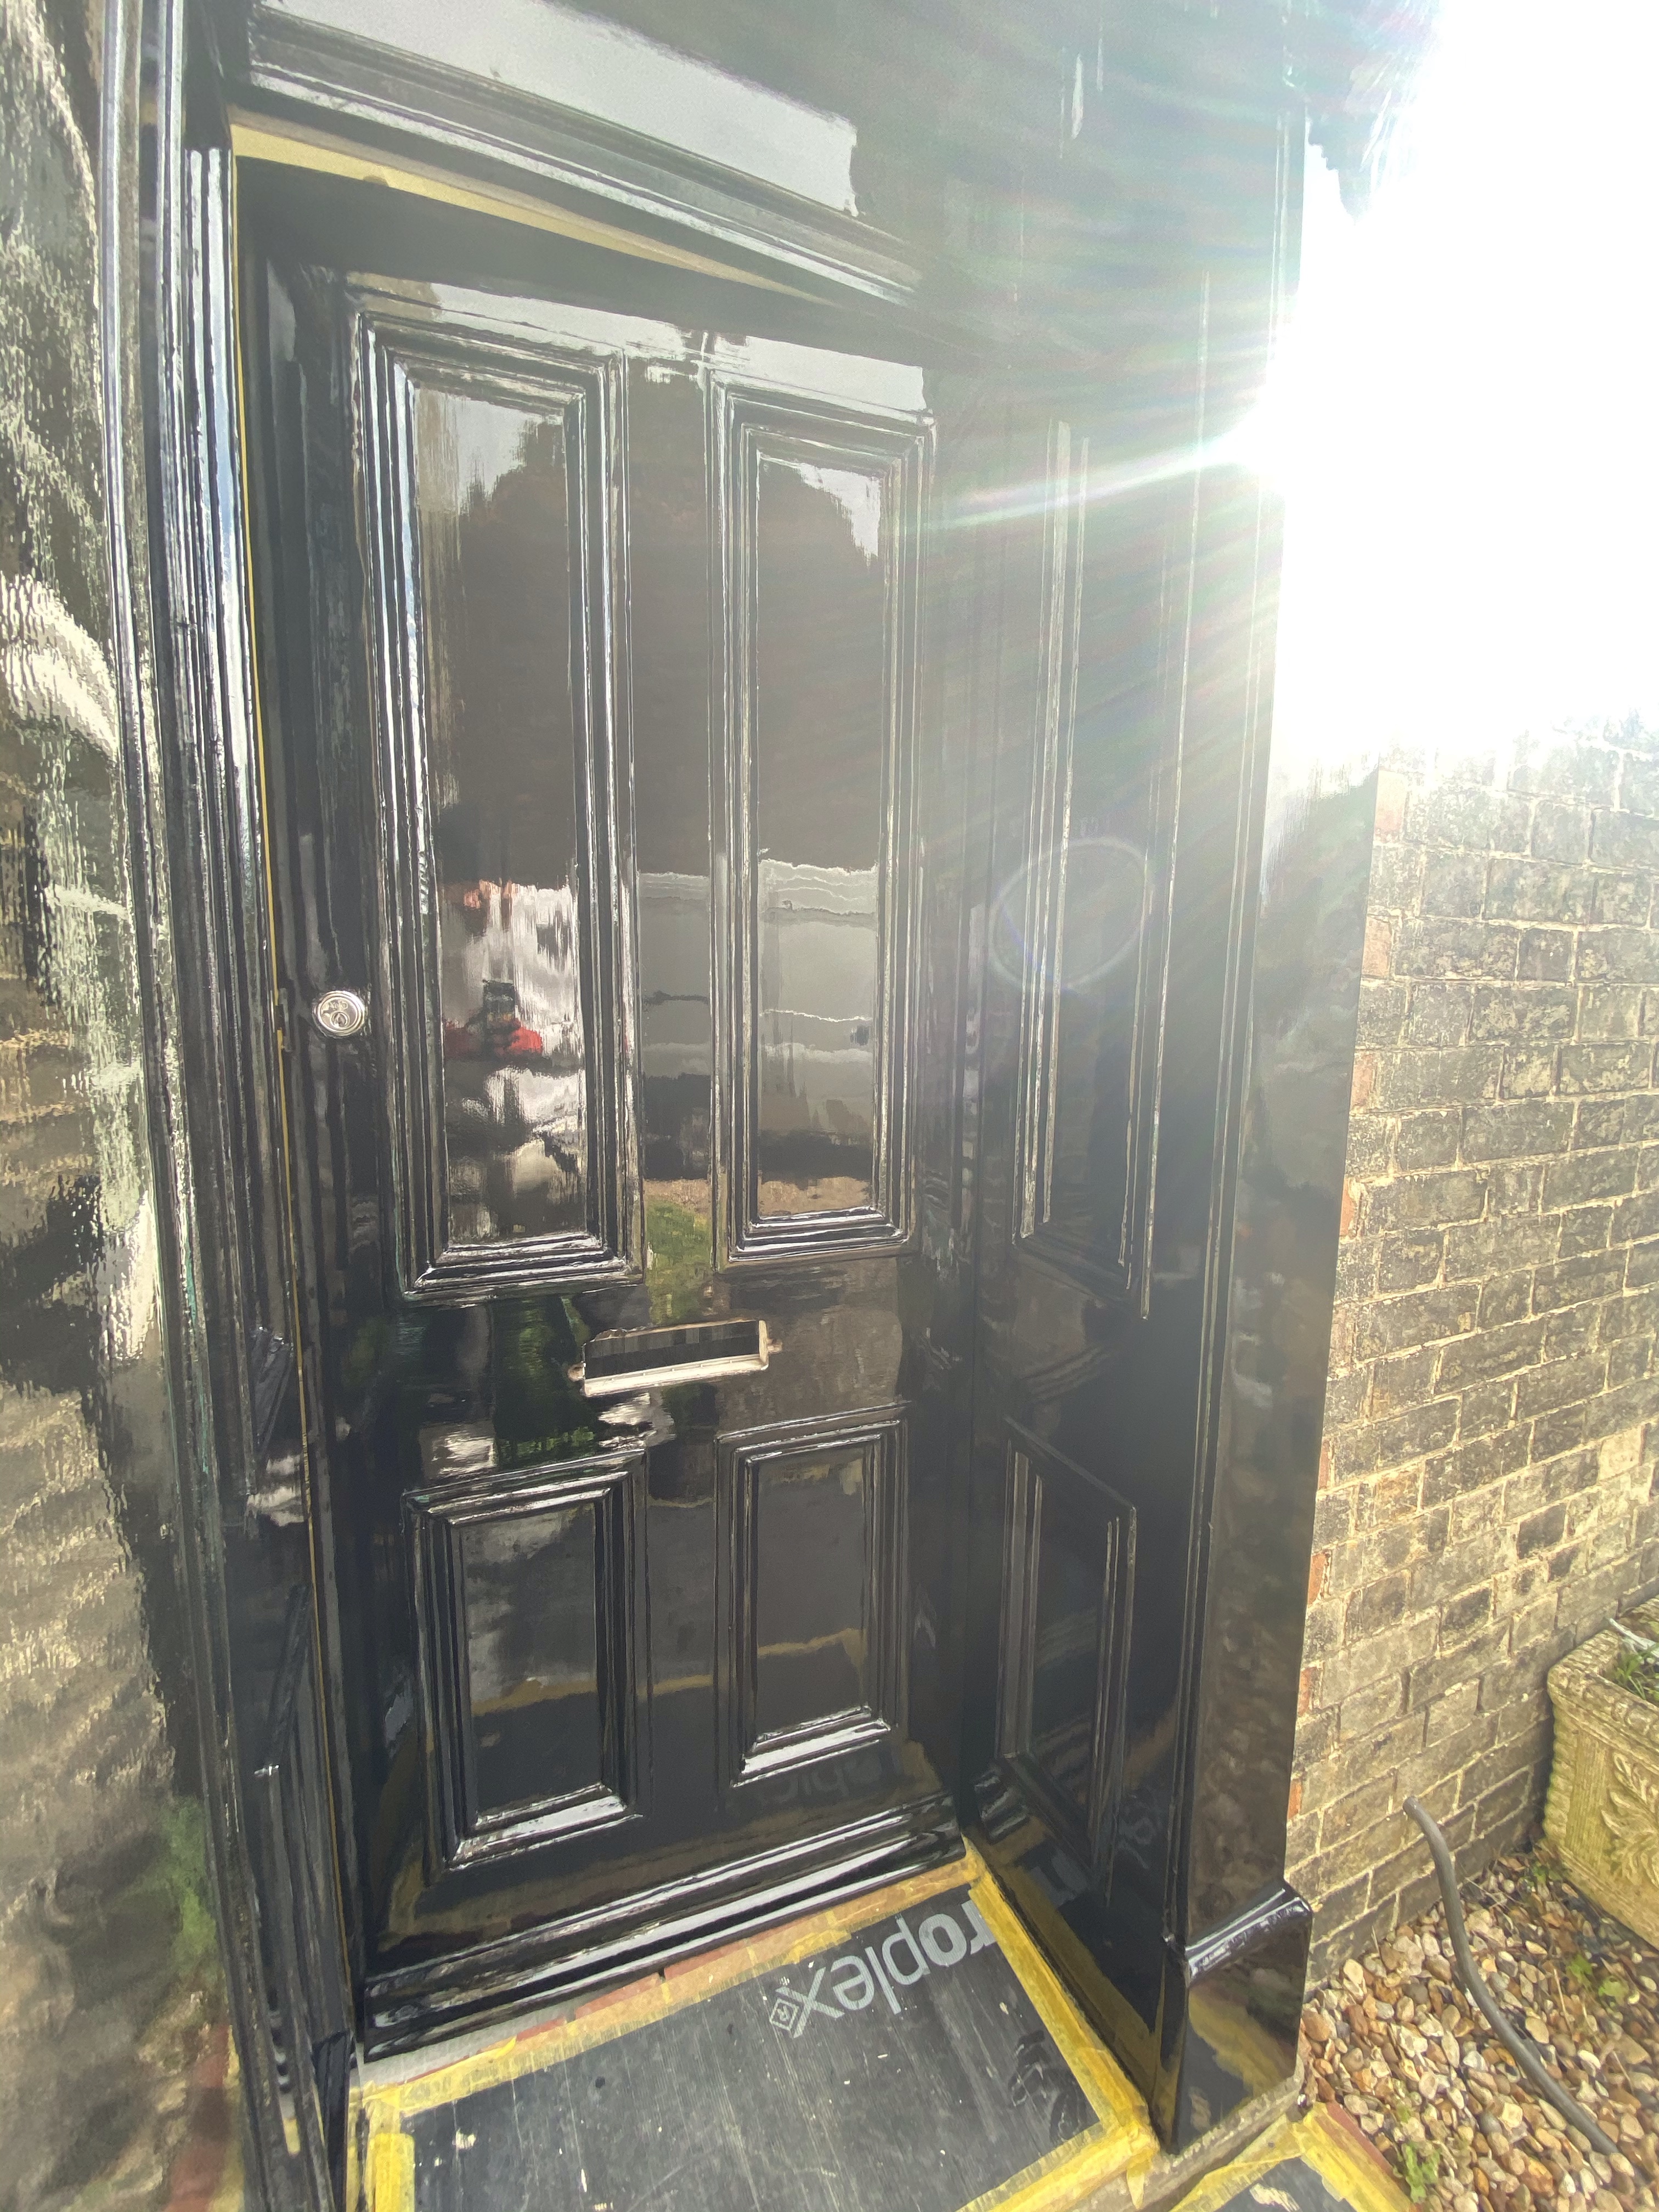
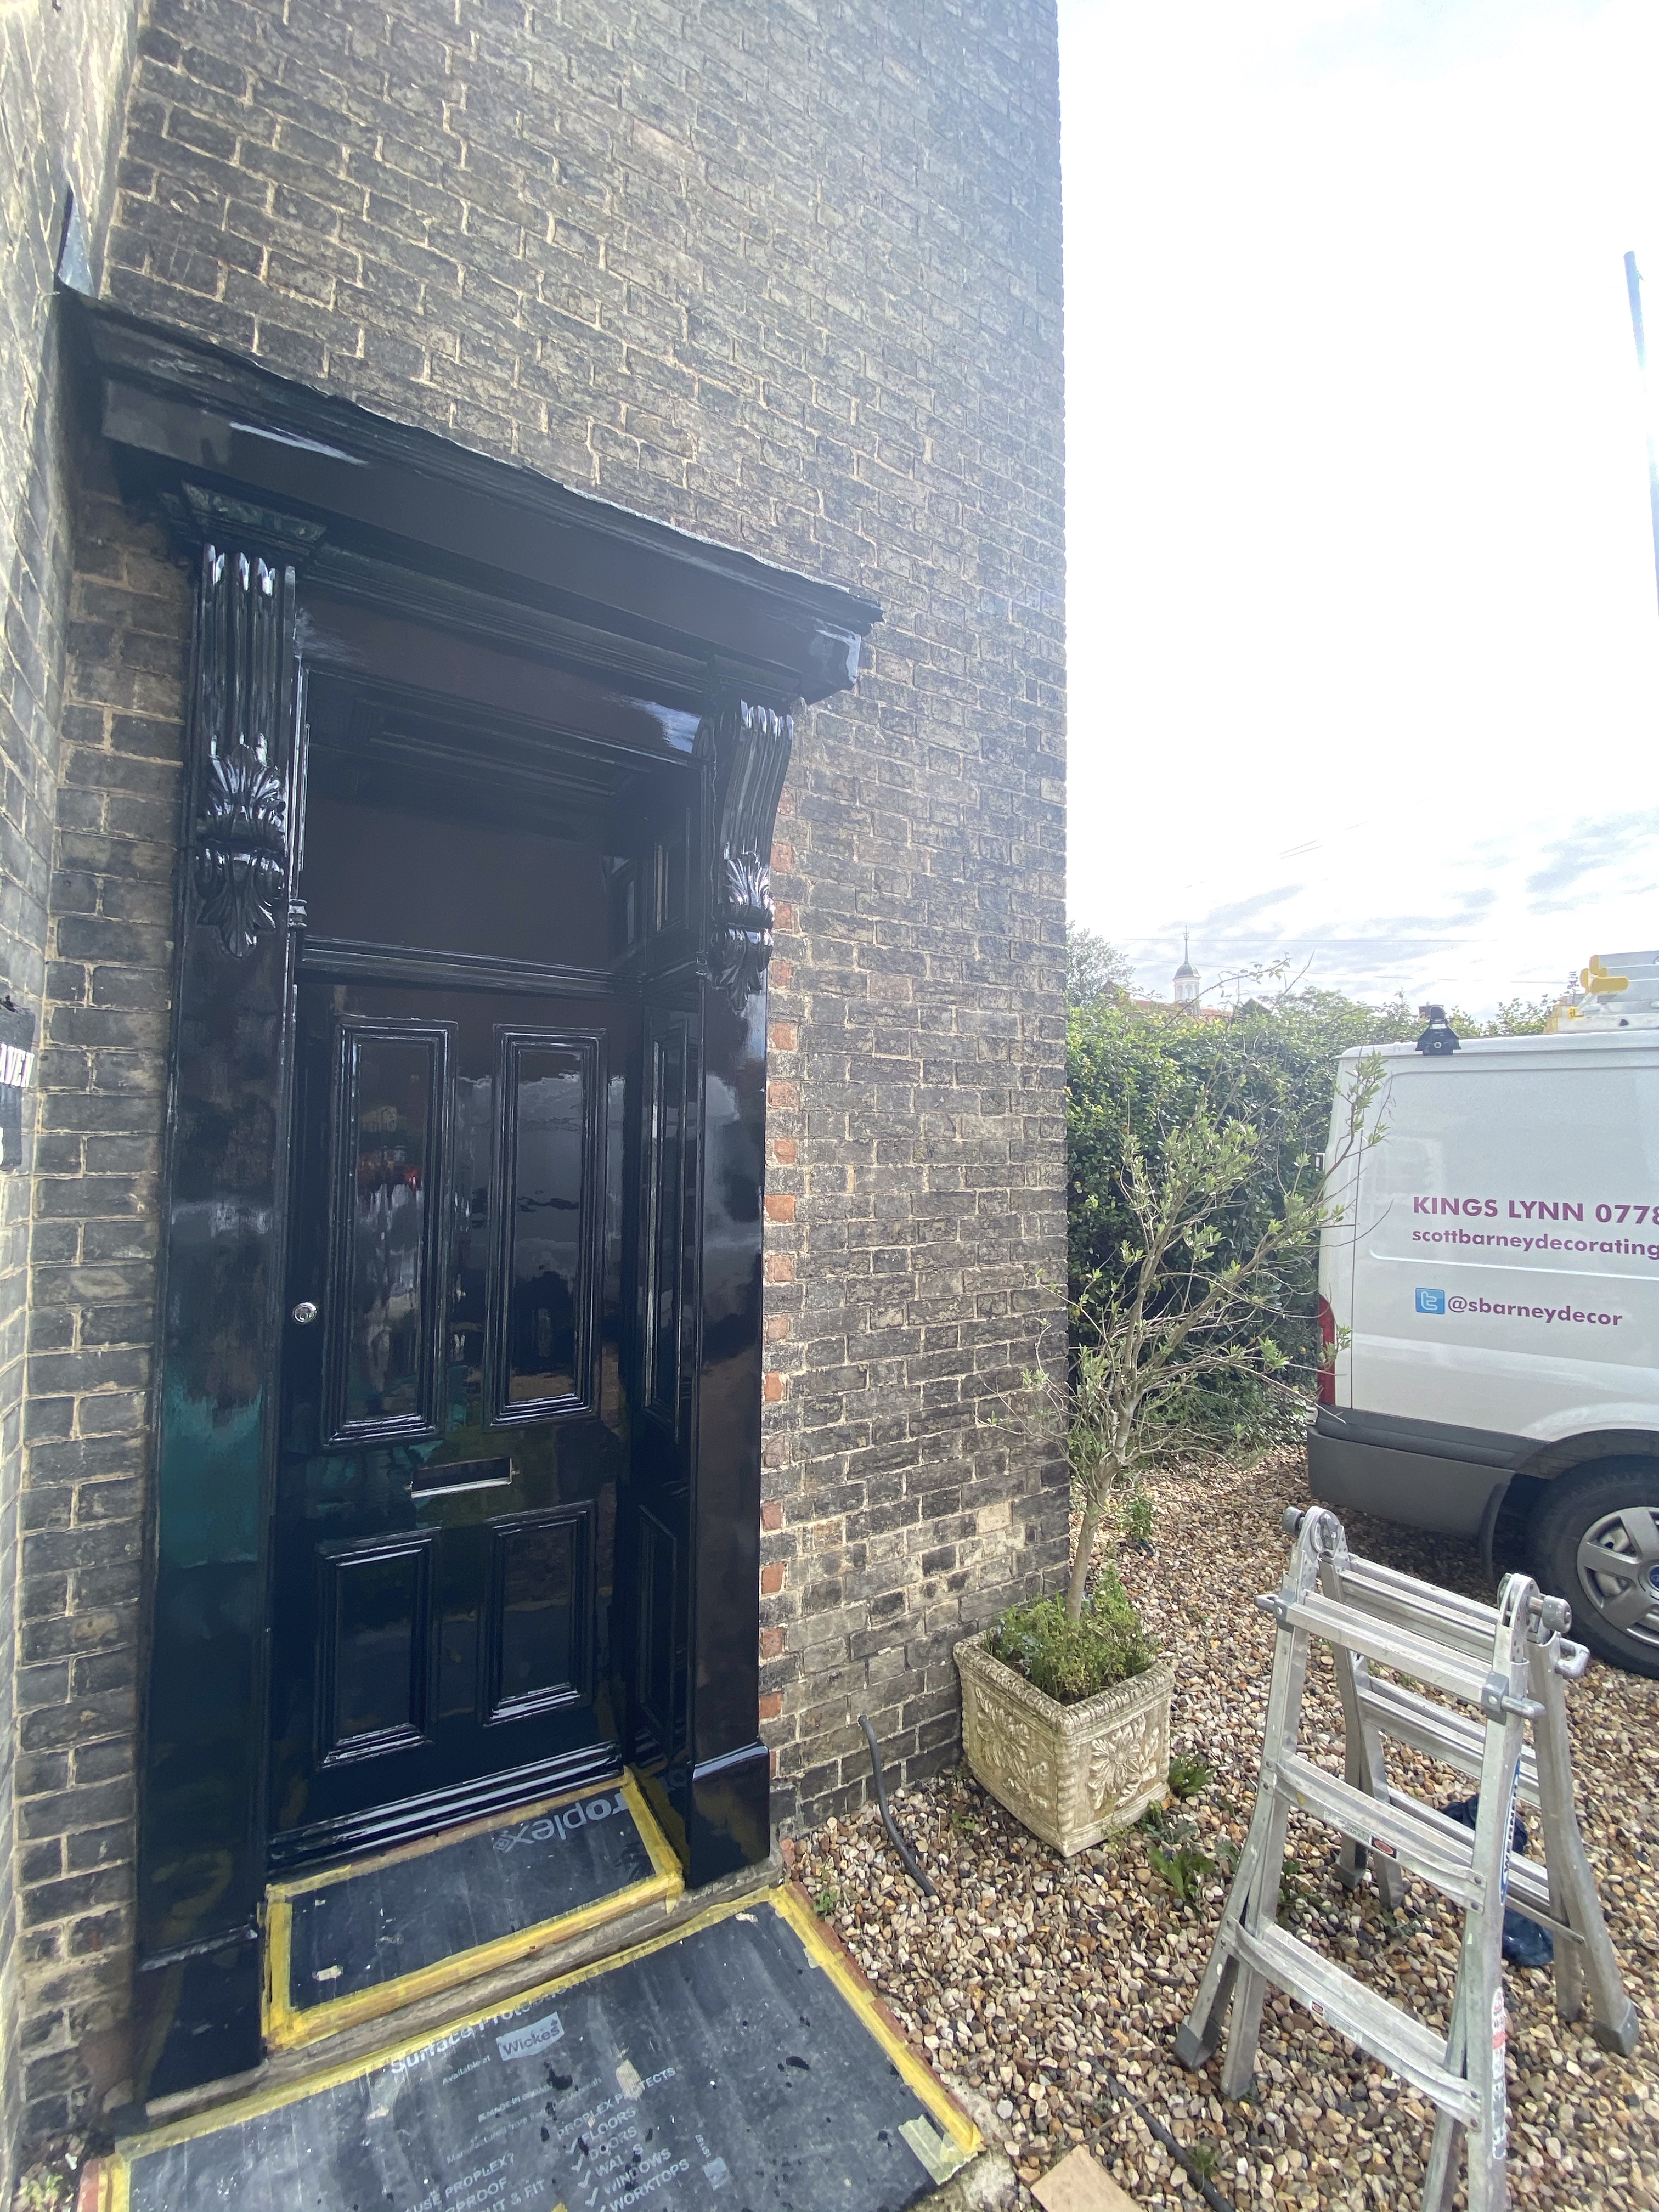
I had always wanted to do a black gloss door, so this door and frame was the perfect gloss project.
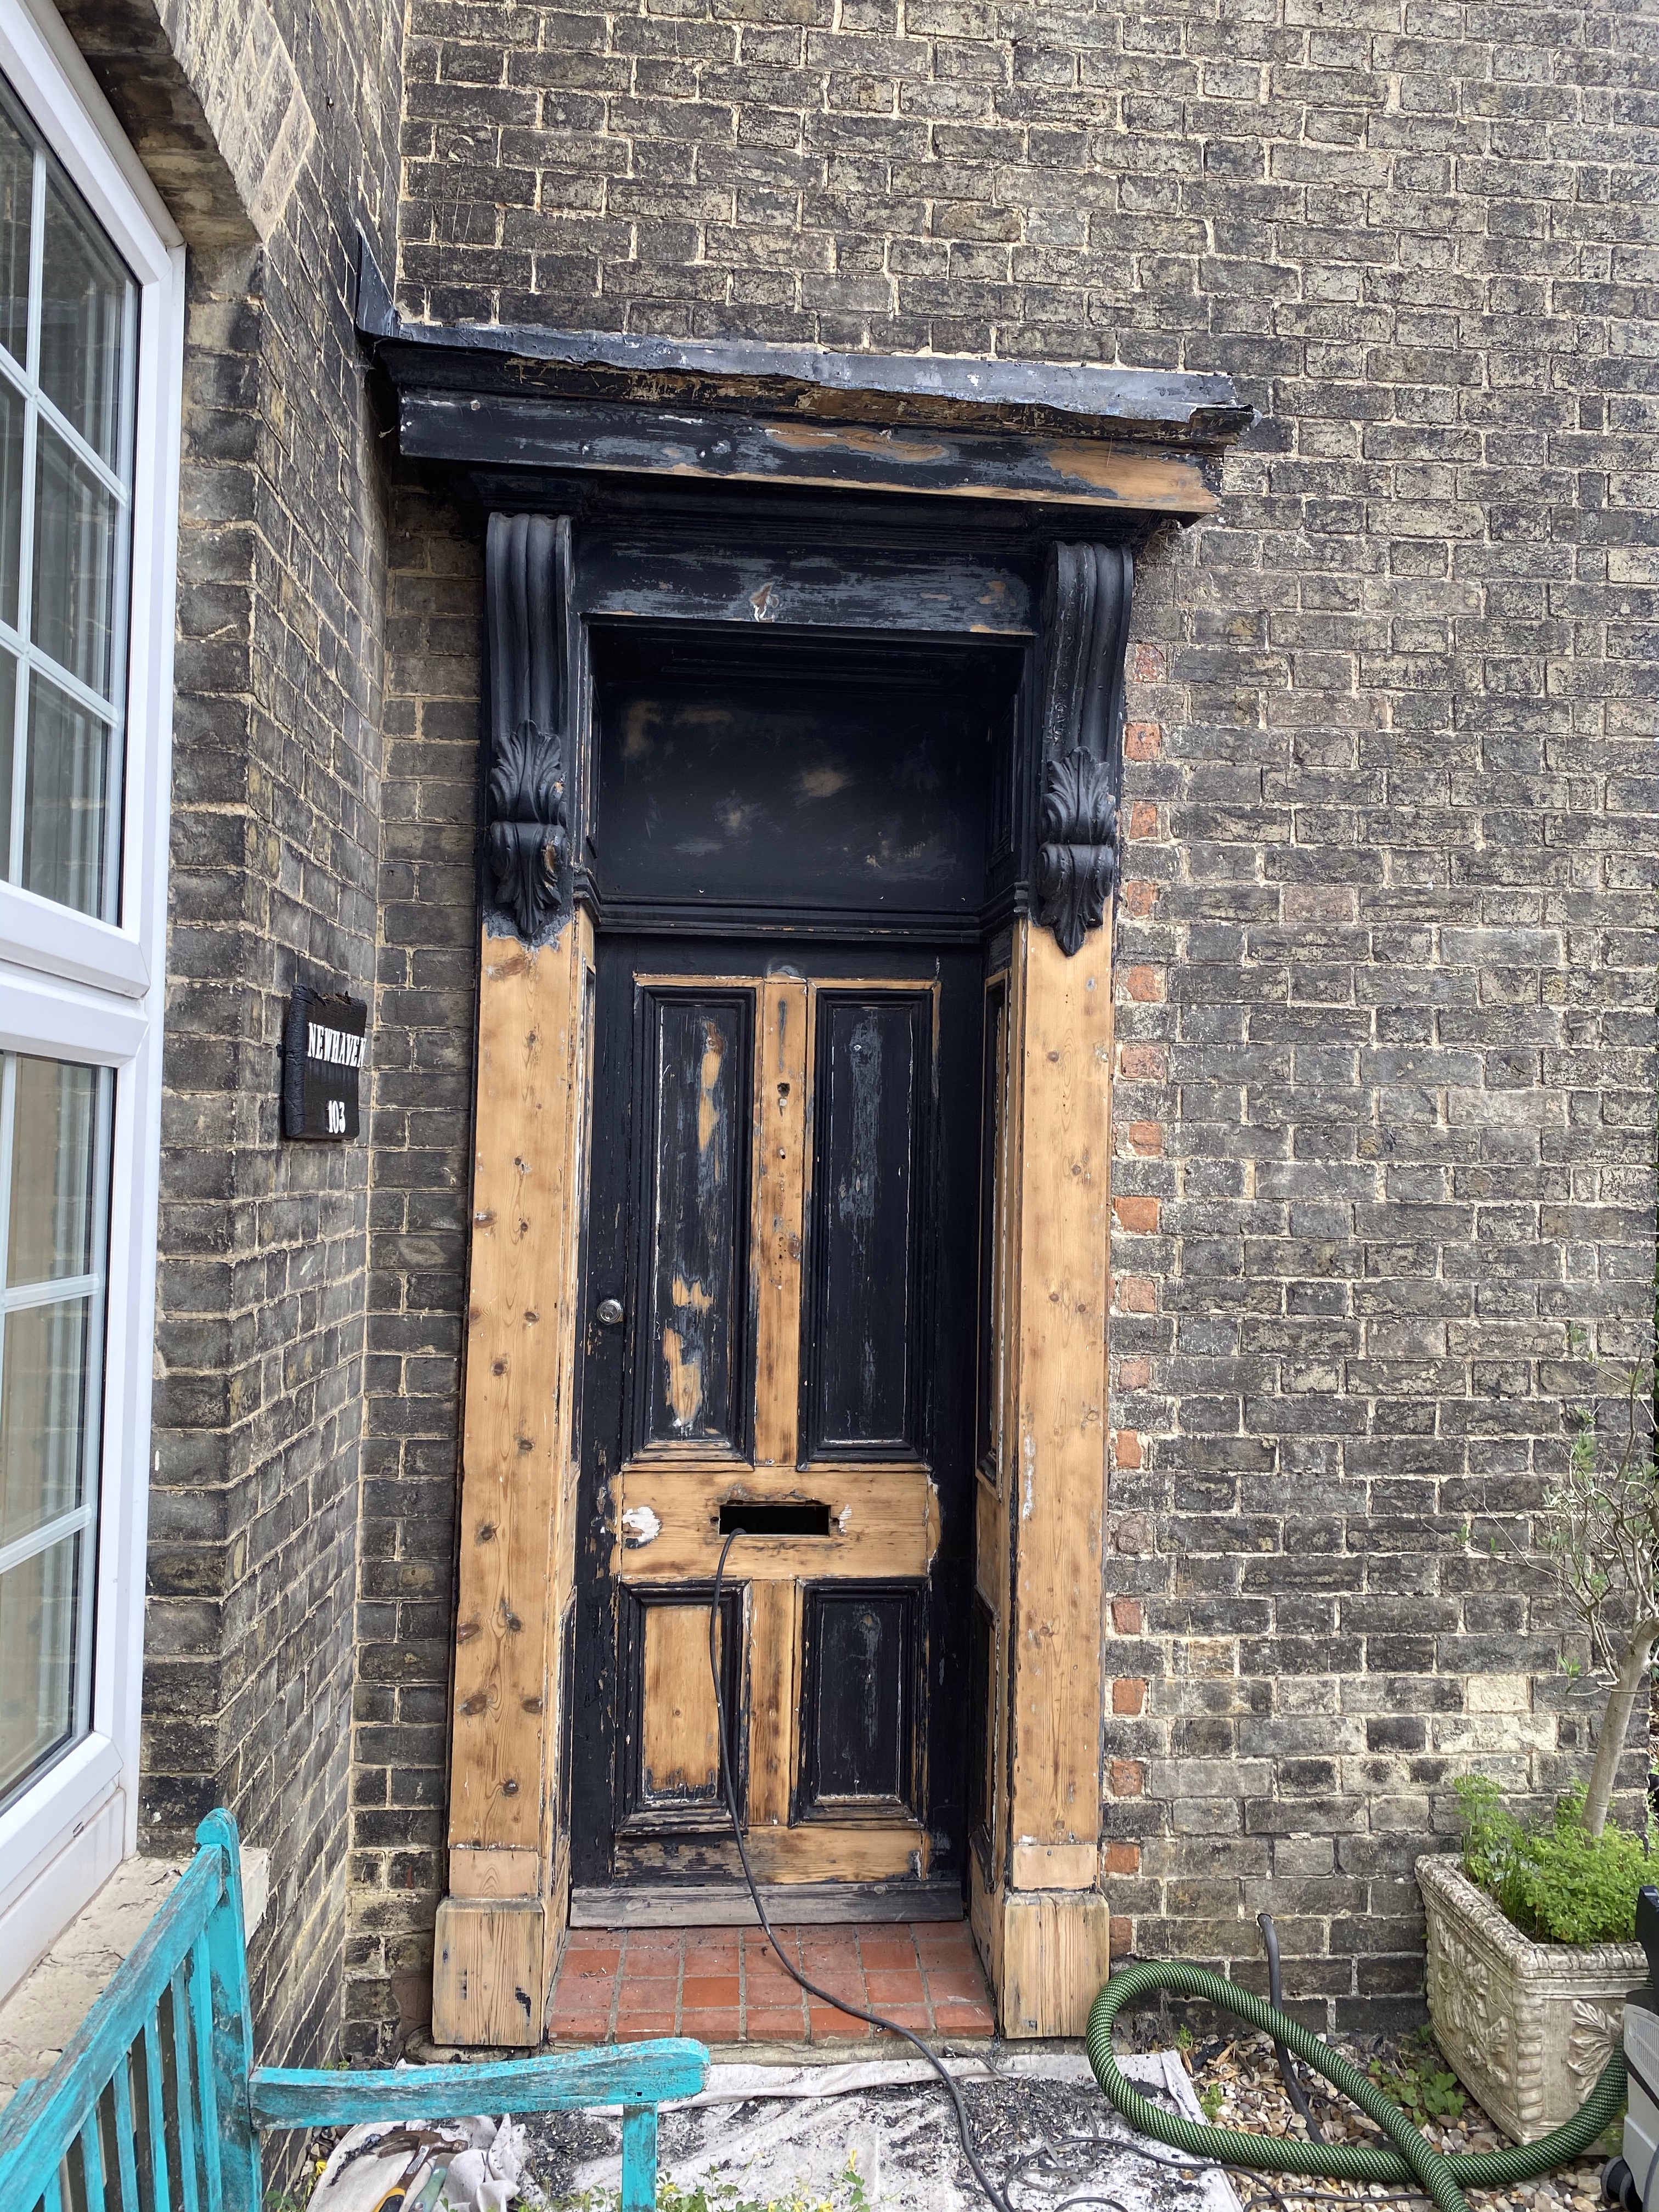
When I first went to view it, it was painted with a matt black paint. This black matt paint was peeling and failing in a lot of places. There were a few areas of rot and some parts of the paneling had become loose and were falling off. The joints of the door were also cracked and coming apart.
Step 1 – Cleaning
The first thing I needed to do was to clean and degrease the door. It’s always good to do this because if I was to just start sanding, I’d be sanding all the grime and muck into the wood which would make it difficult for the paint to adhere to the surface (this is known as surface contamination).
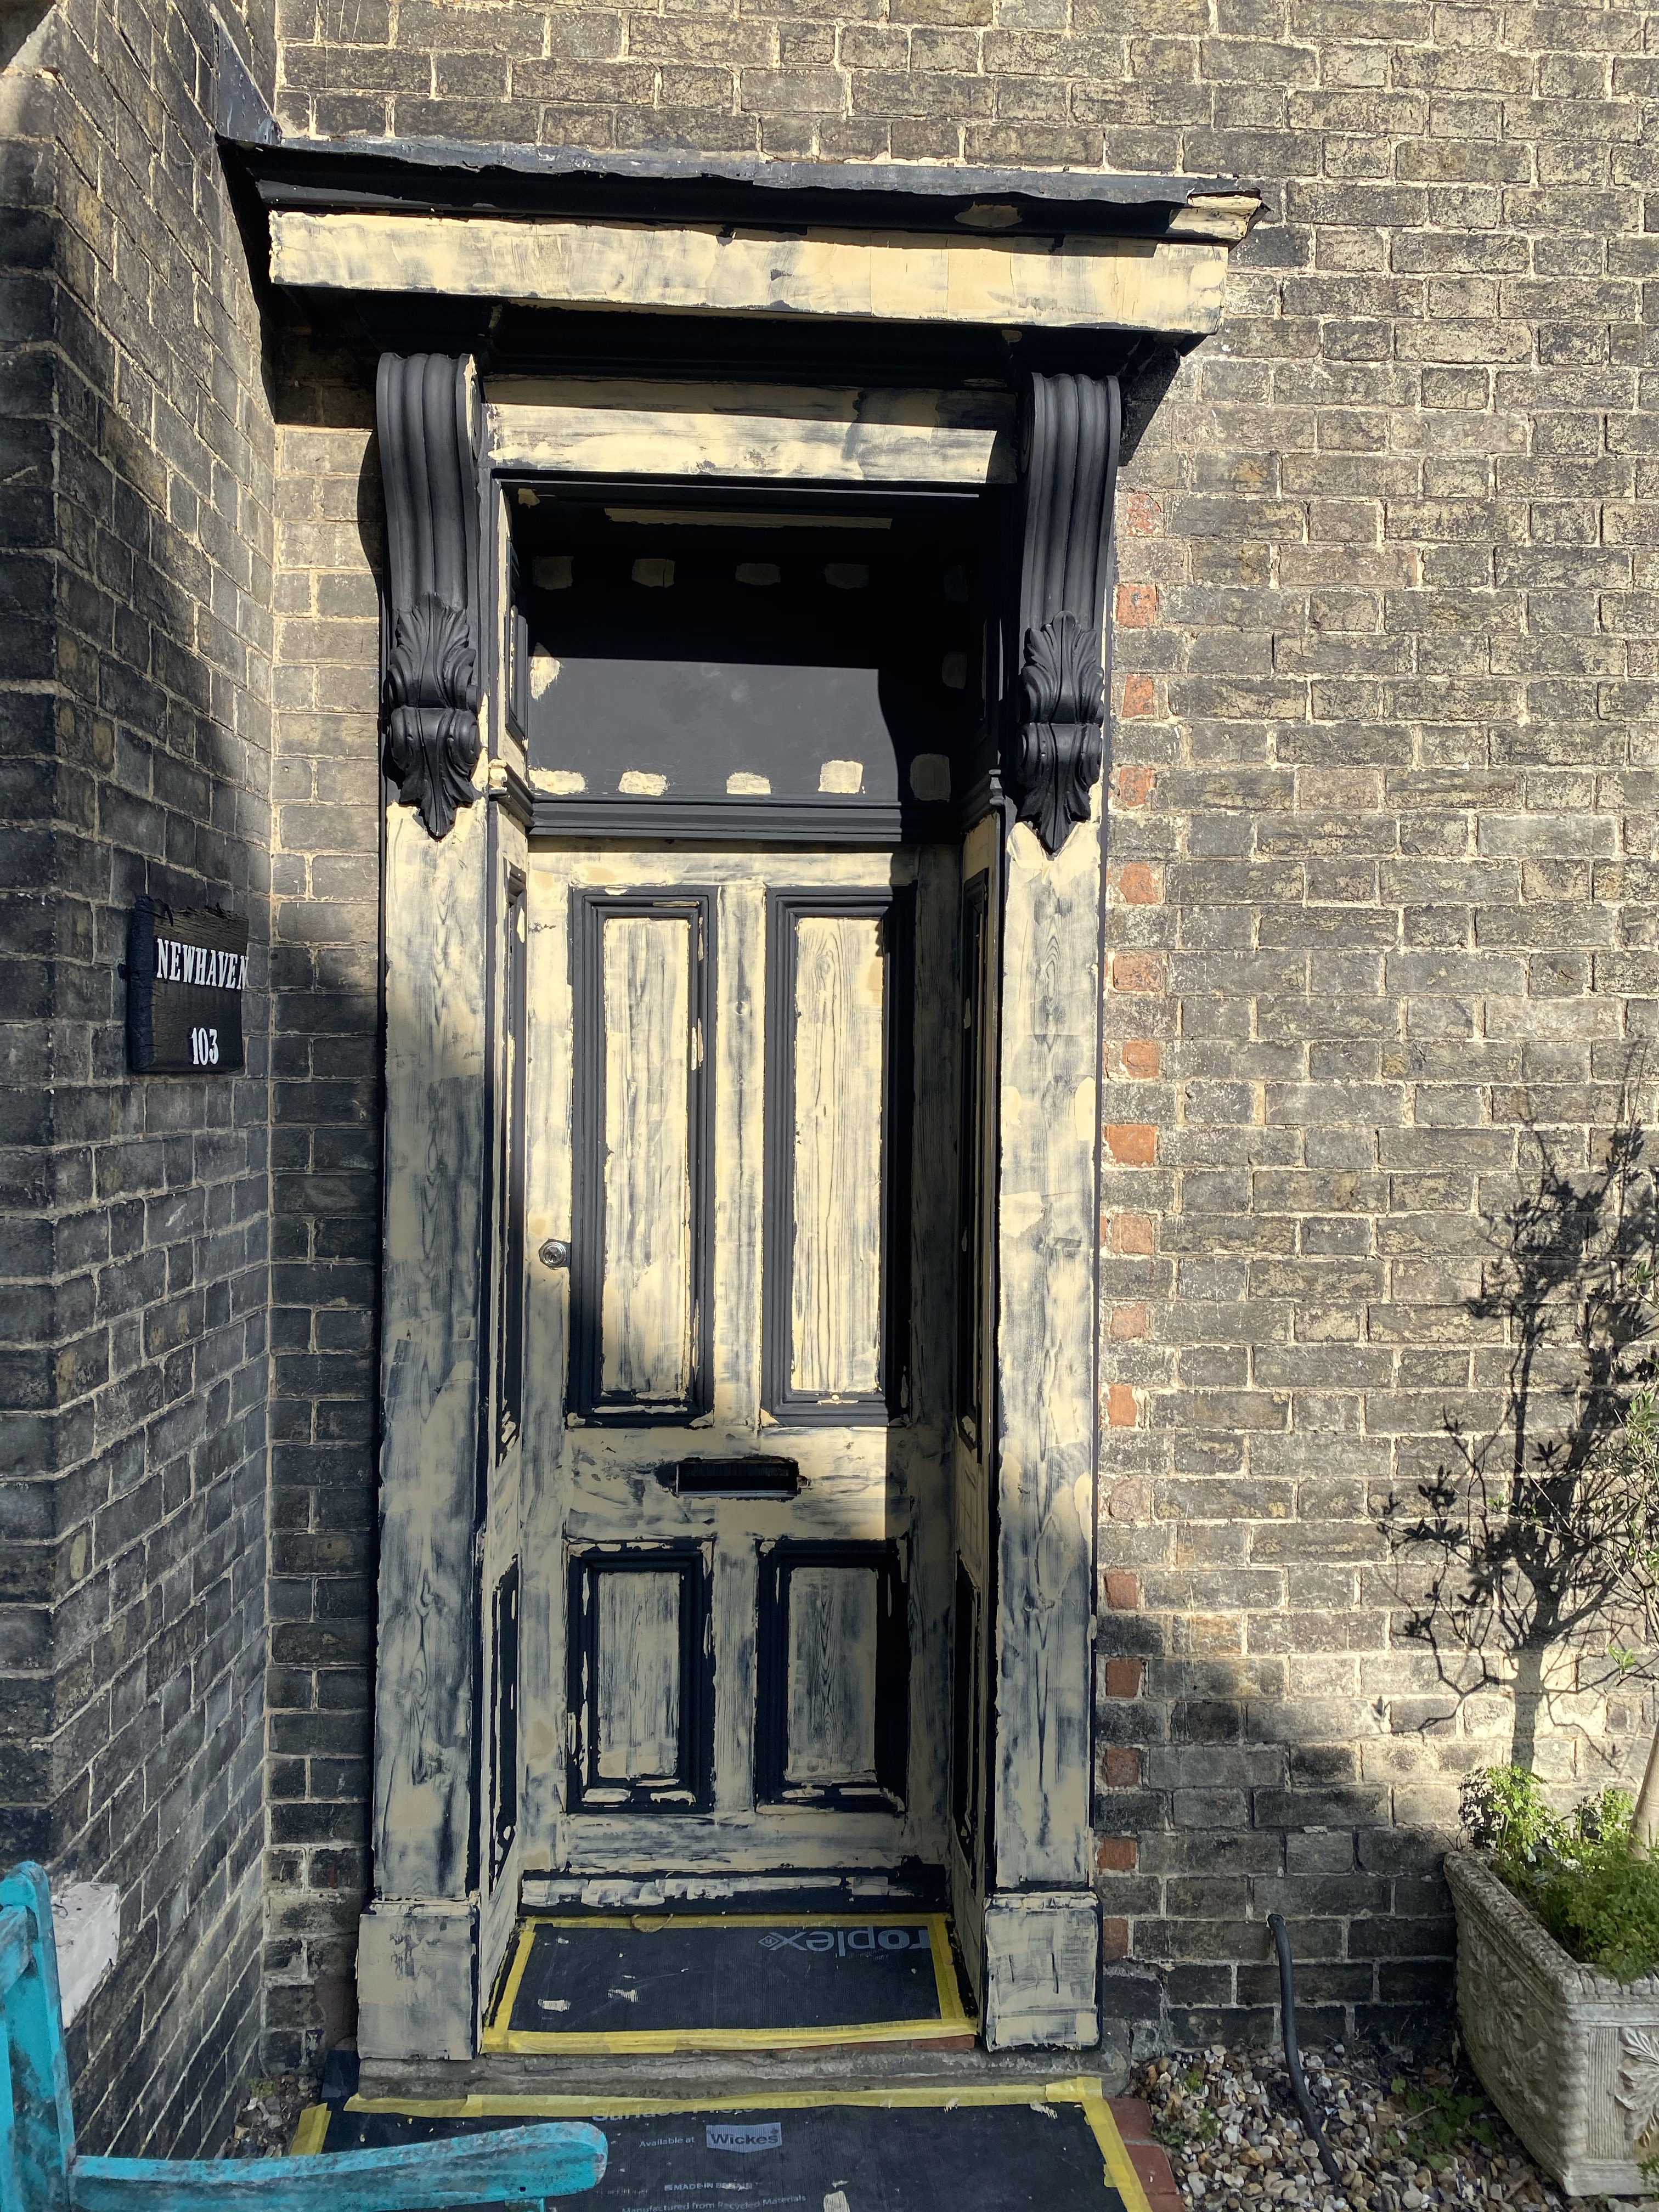
Step 2 – Sanding
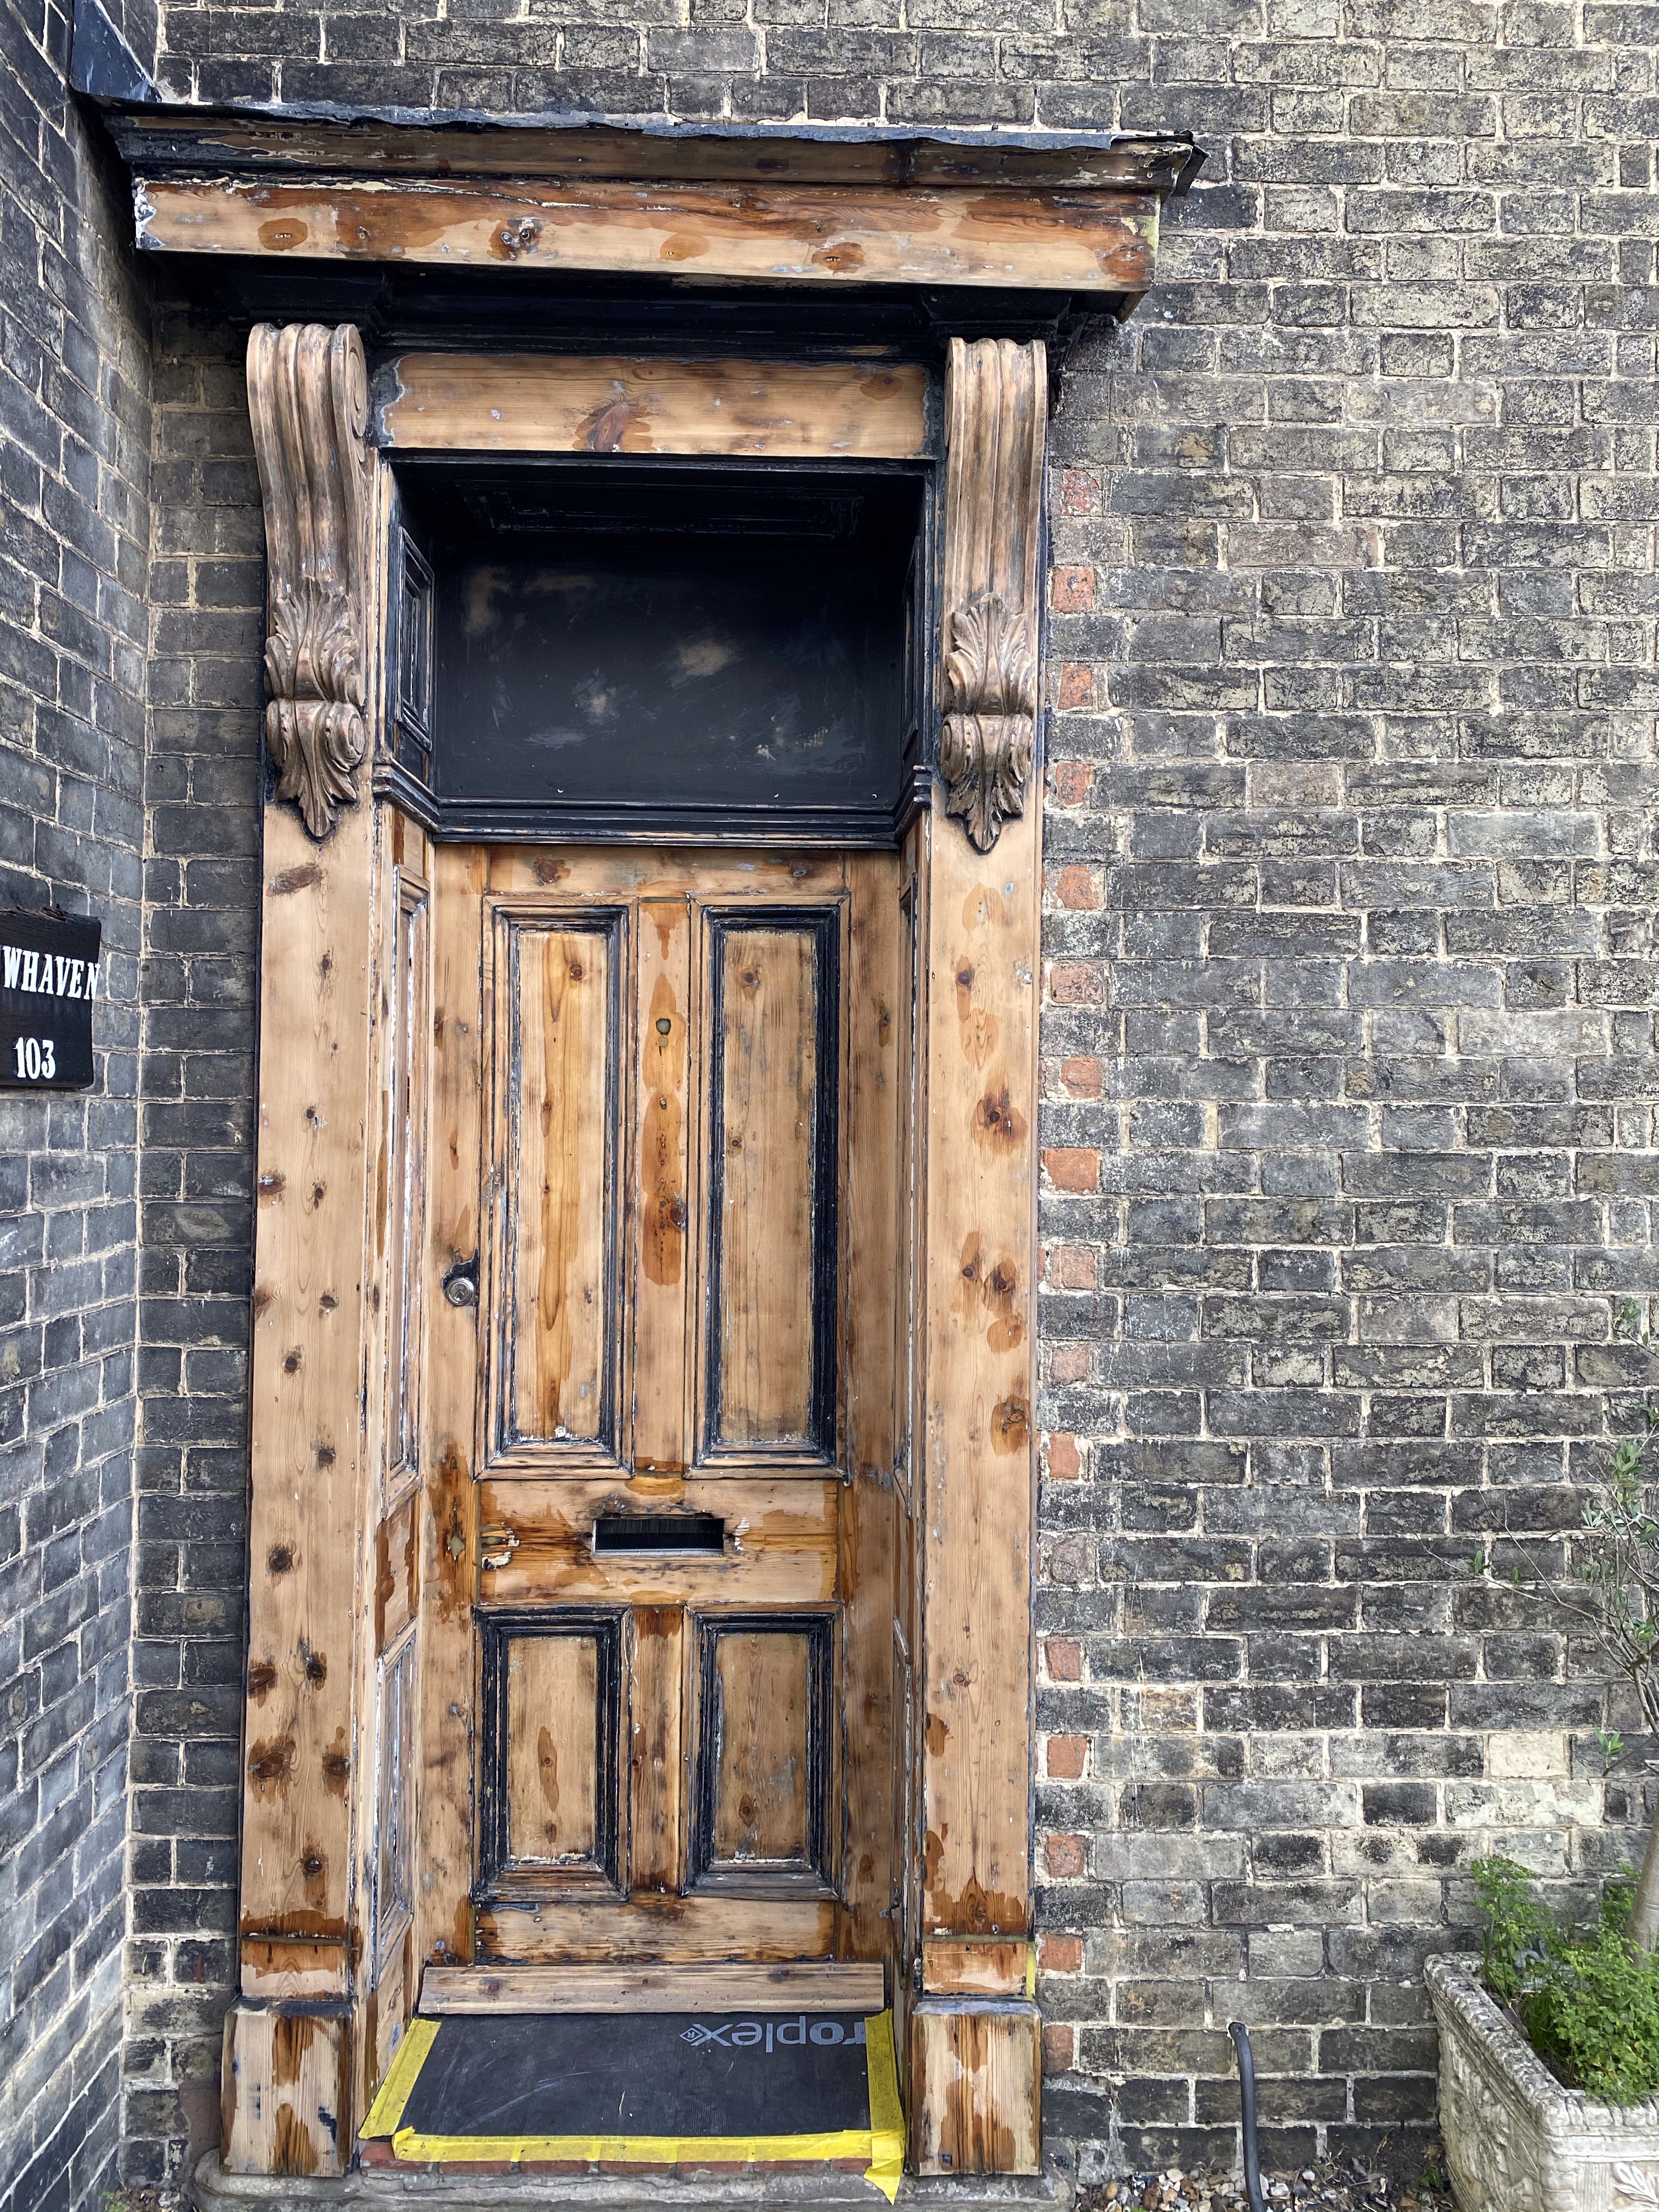
Once the door had been cleaned, I got the sanders out. The first sander I had on the case was my Festool RO90, set onto beast mode. Using this, I was able to take off most of the paint off of the surface and back to bare wood. For the other areas the RO90 couldn’t do, I used the Festool RTS 400. Both ran on a Festool M class Midi dust extractor which keeps mess to a minimum.
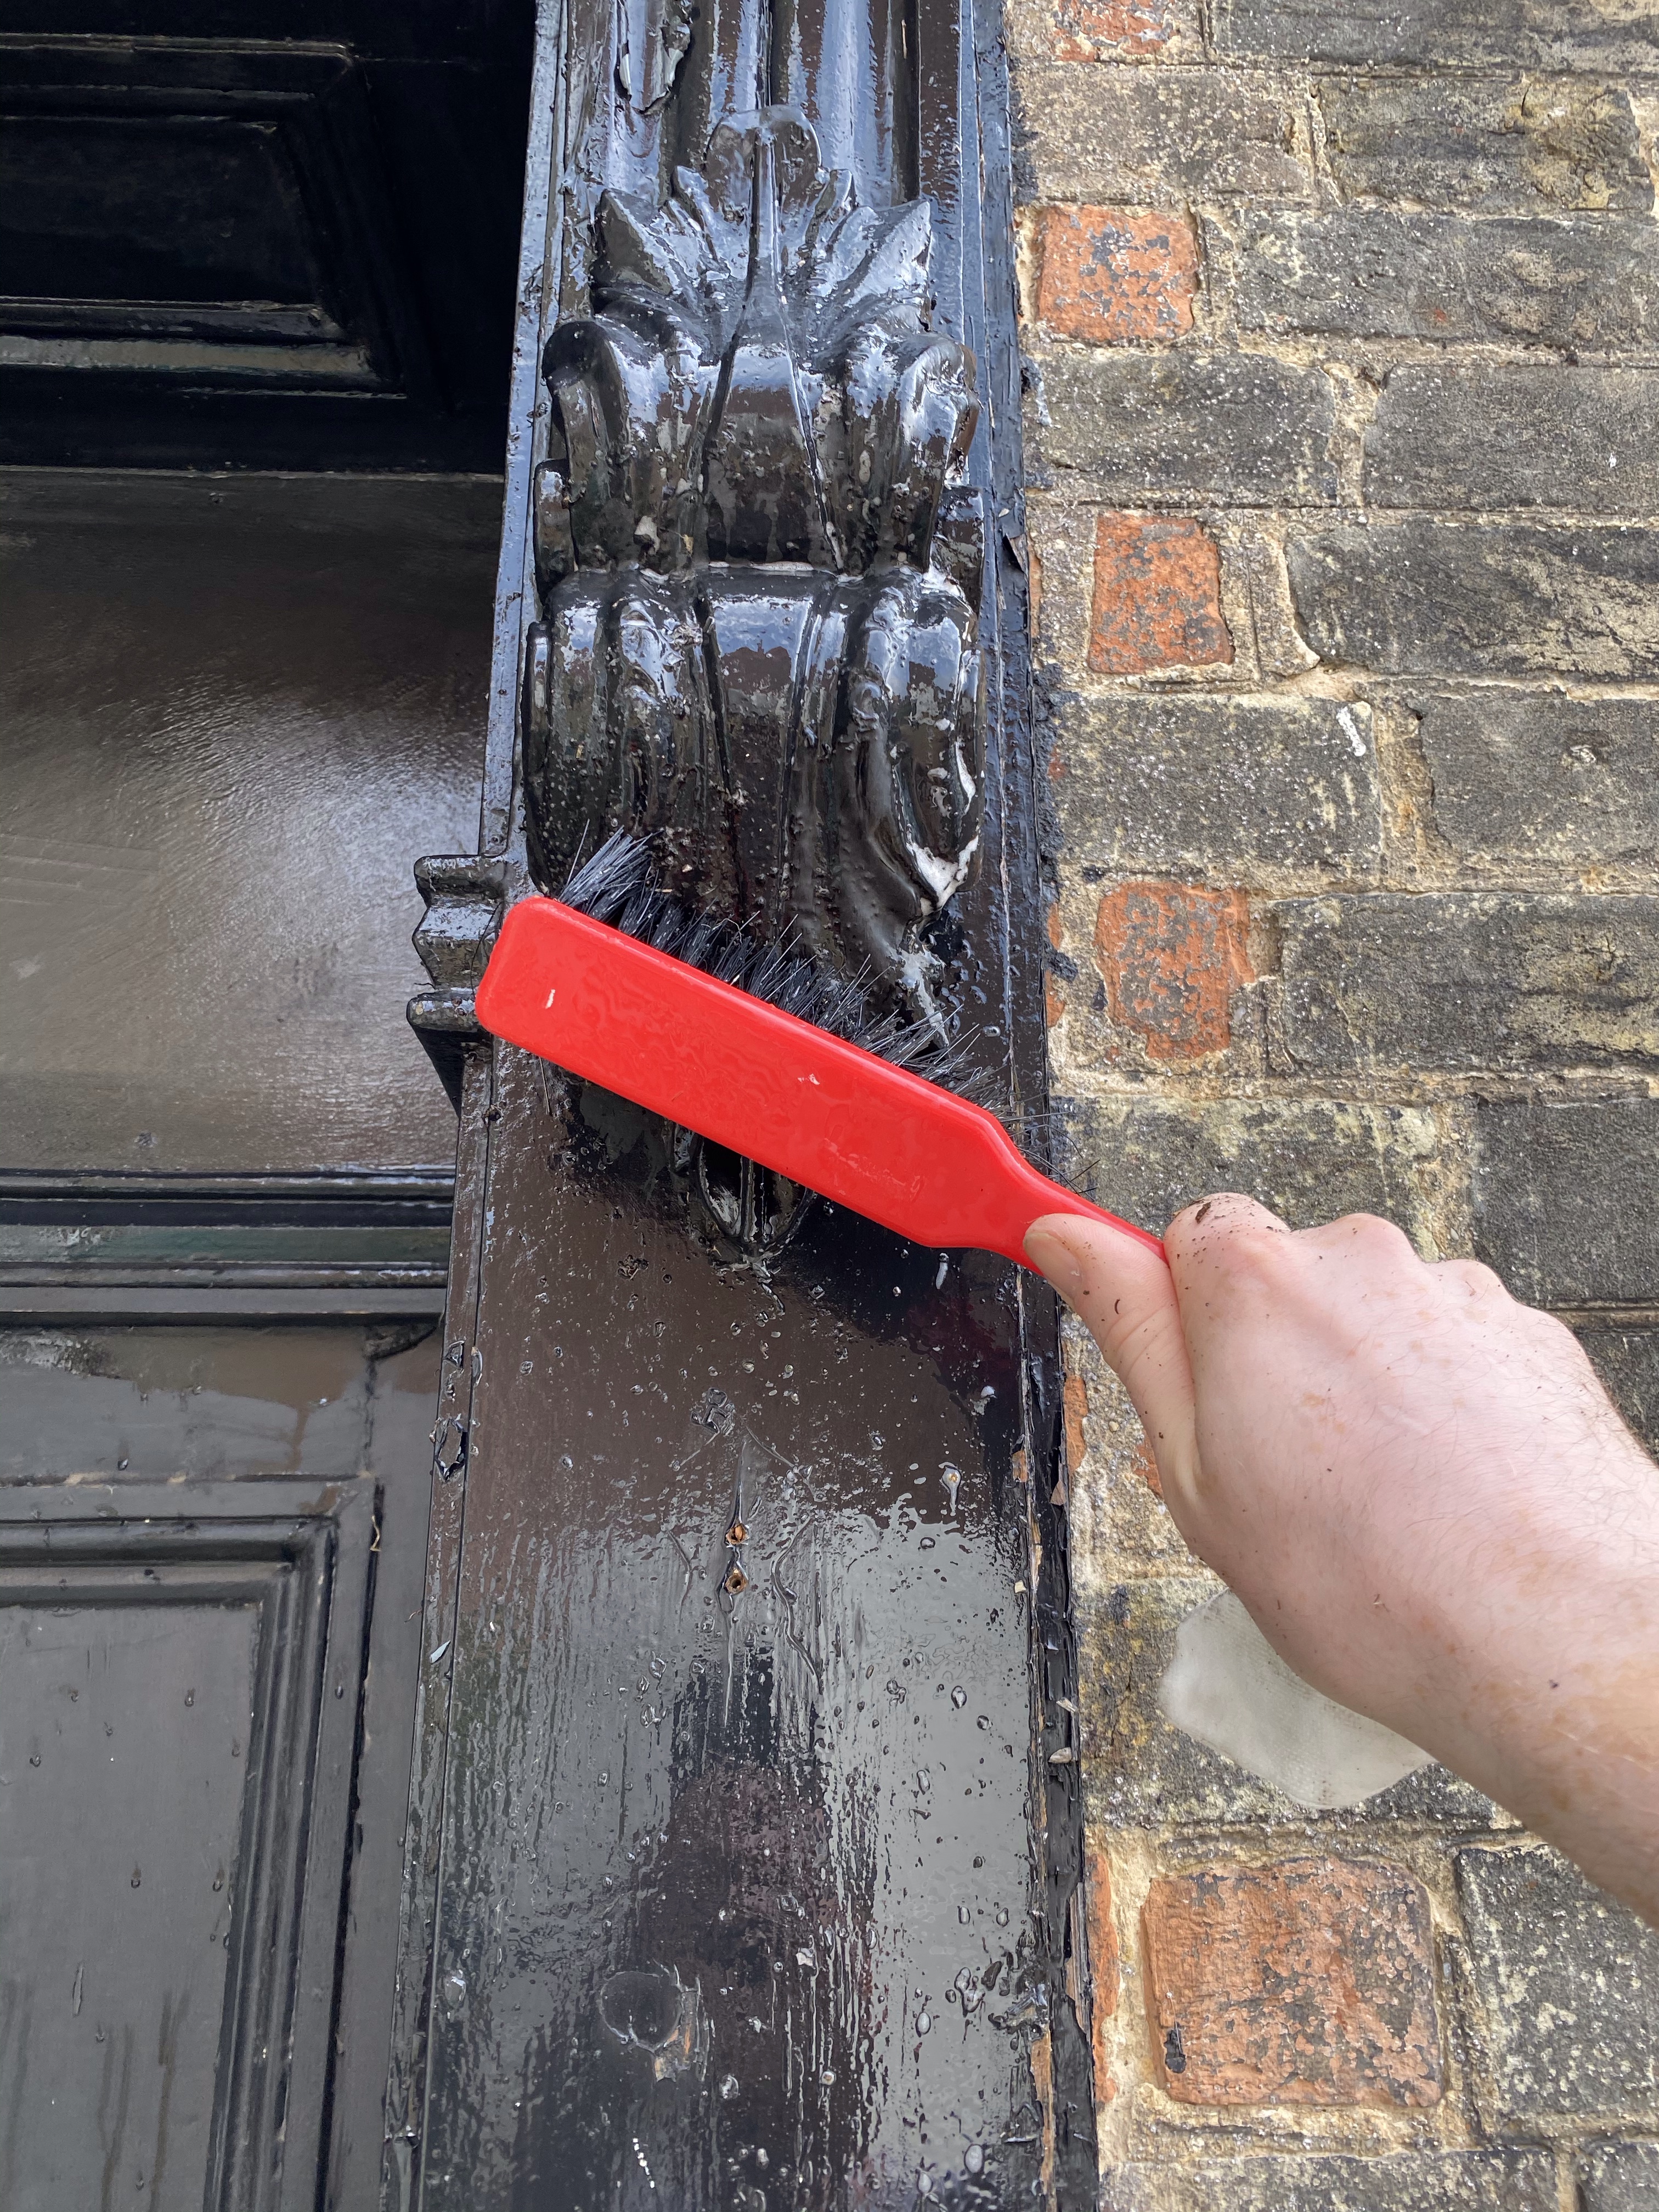
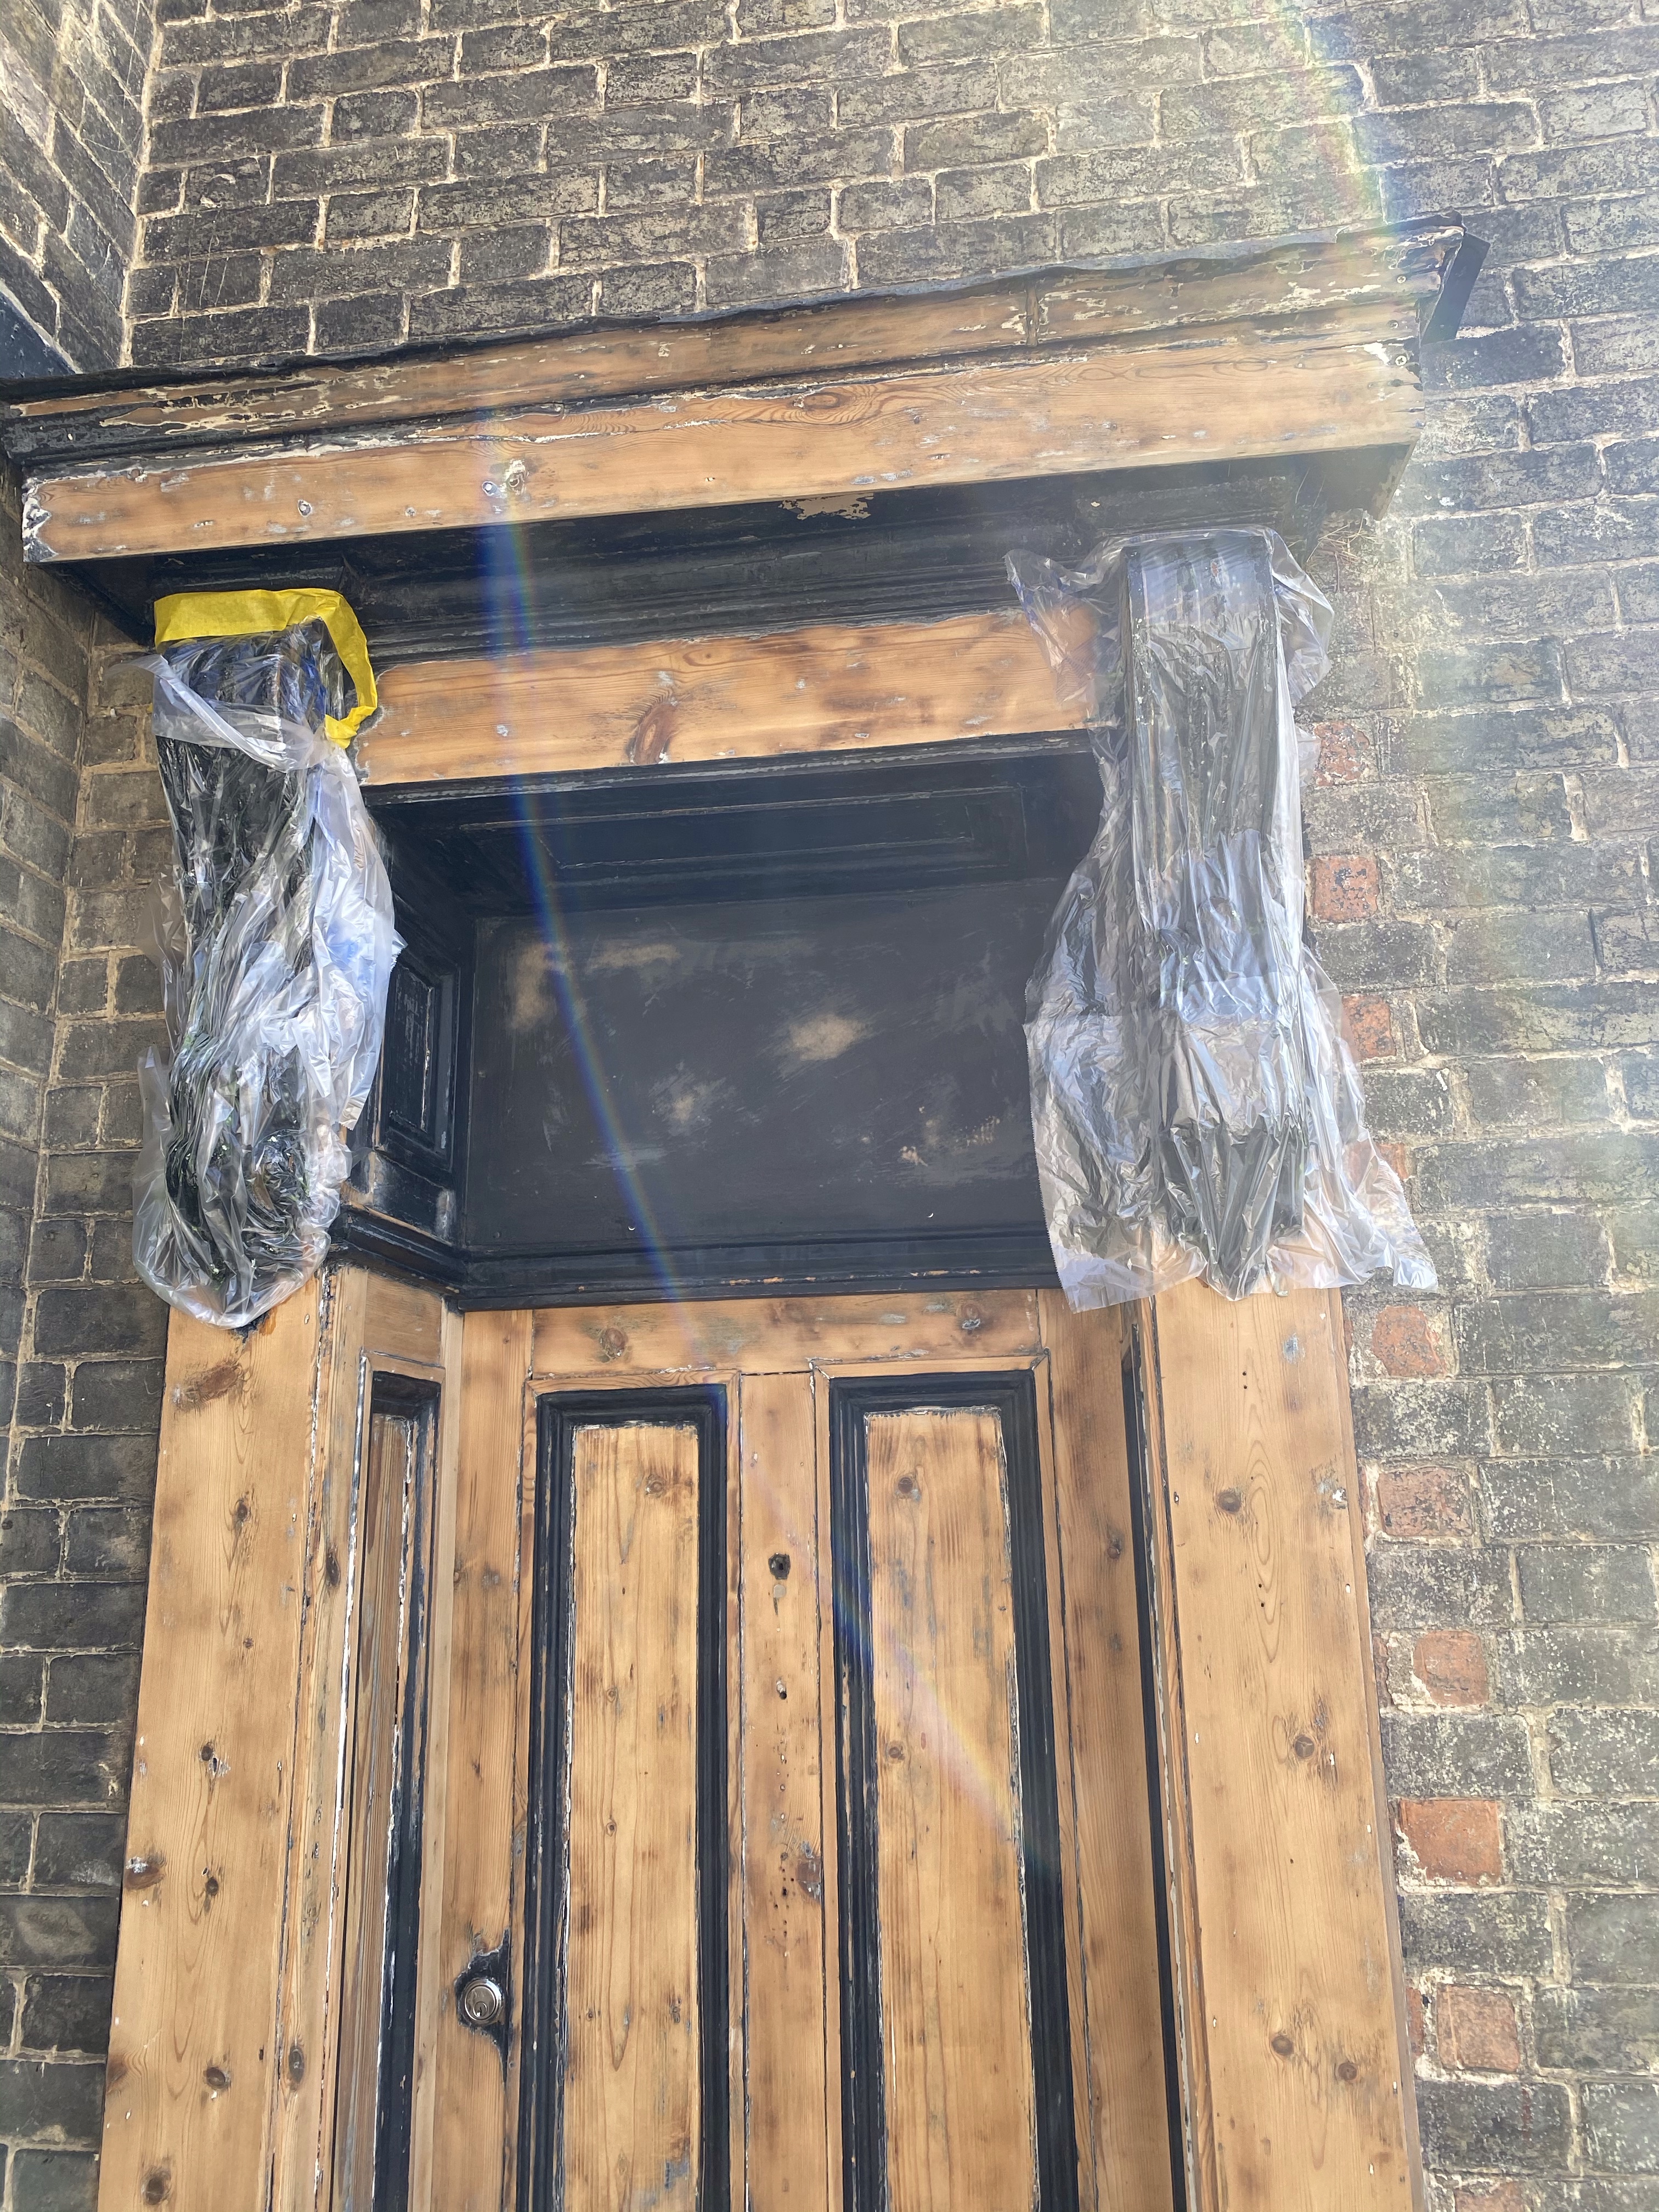
The next part that needed attention was the detail on the door frame. It was tricky to sand with my sanders as I really didn’t want to loose any of the fine detailing. There was a huge amount of paint build up here so I used Nitromors paint stripper to get the layers of paint off. To stop it drying out so quickly I tried using plastic sheeting over the top, this was to keep the chemical reaction active. To get it back to a decent finish I did this process twice. When I was happy with the outcome, I then cleaned it down again to remove any left over paint stripper. The rest, I sanded by hand.
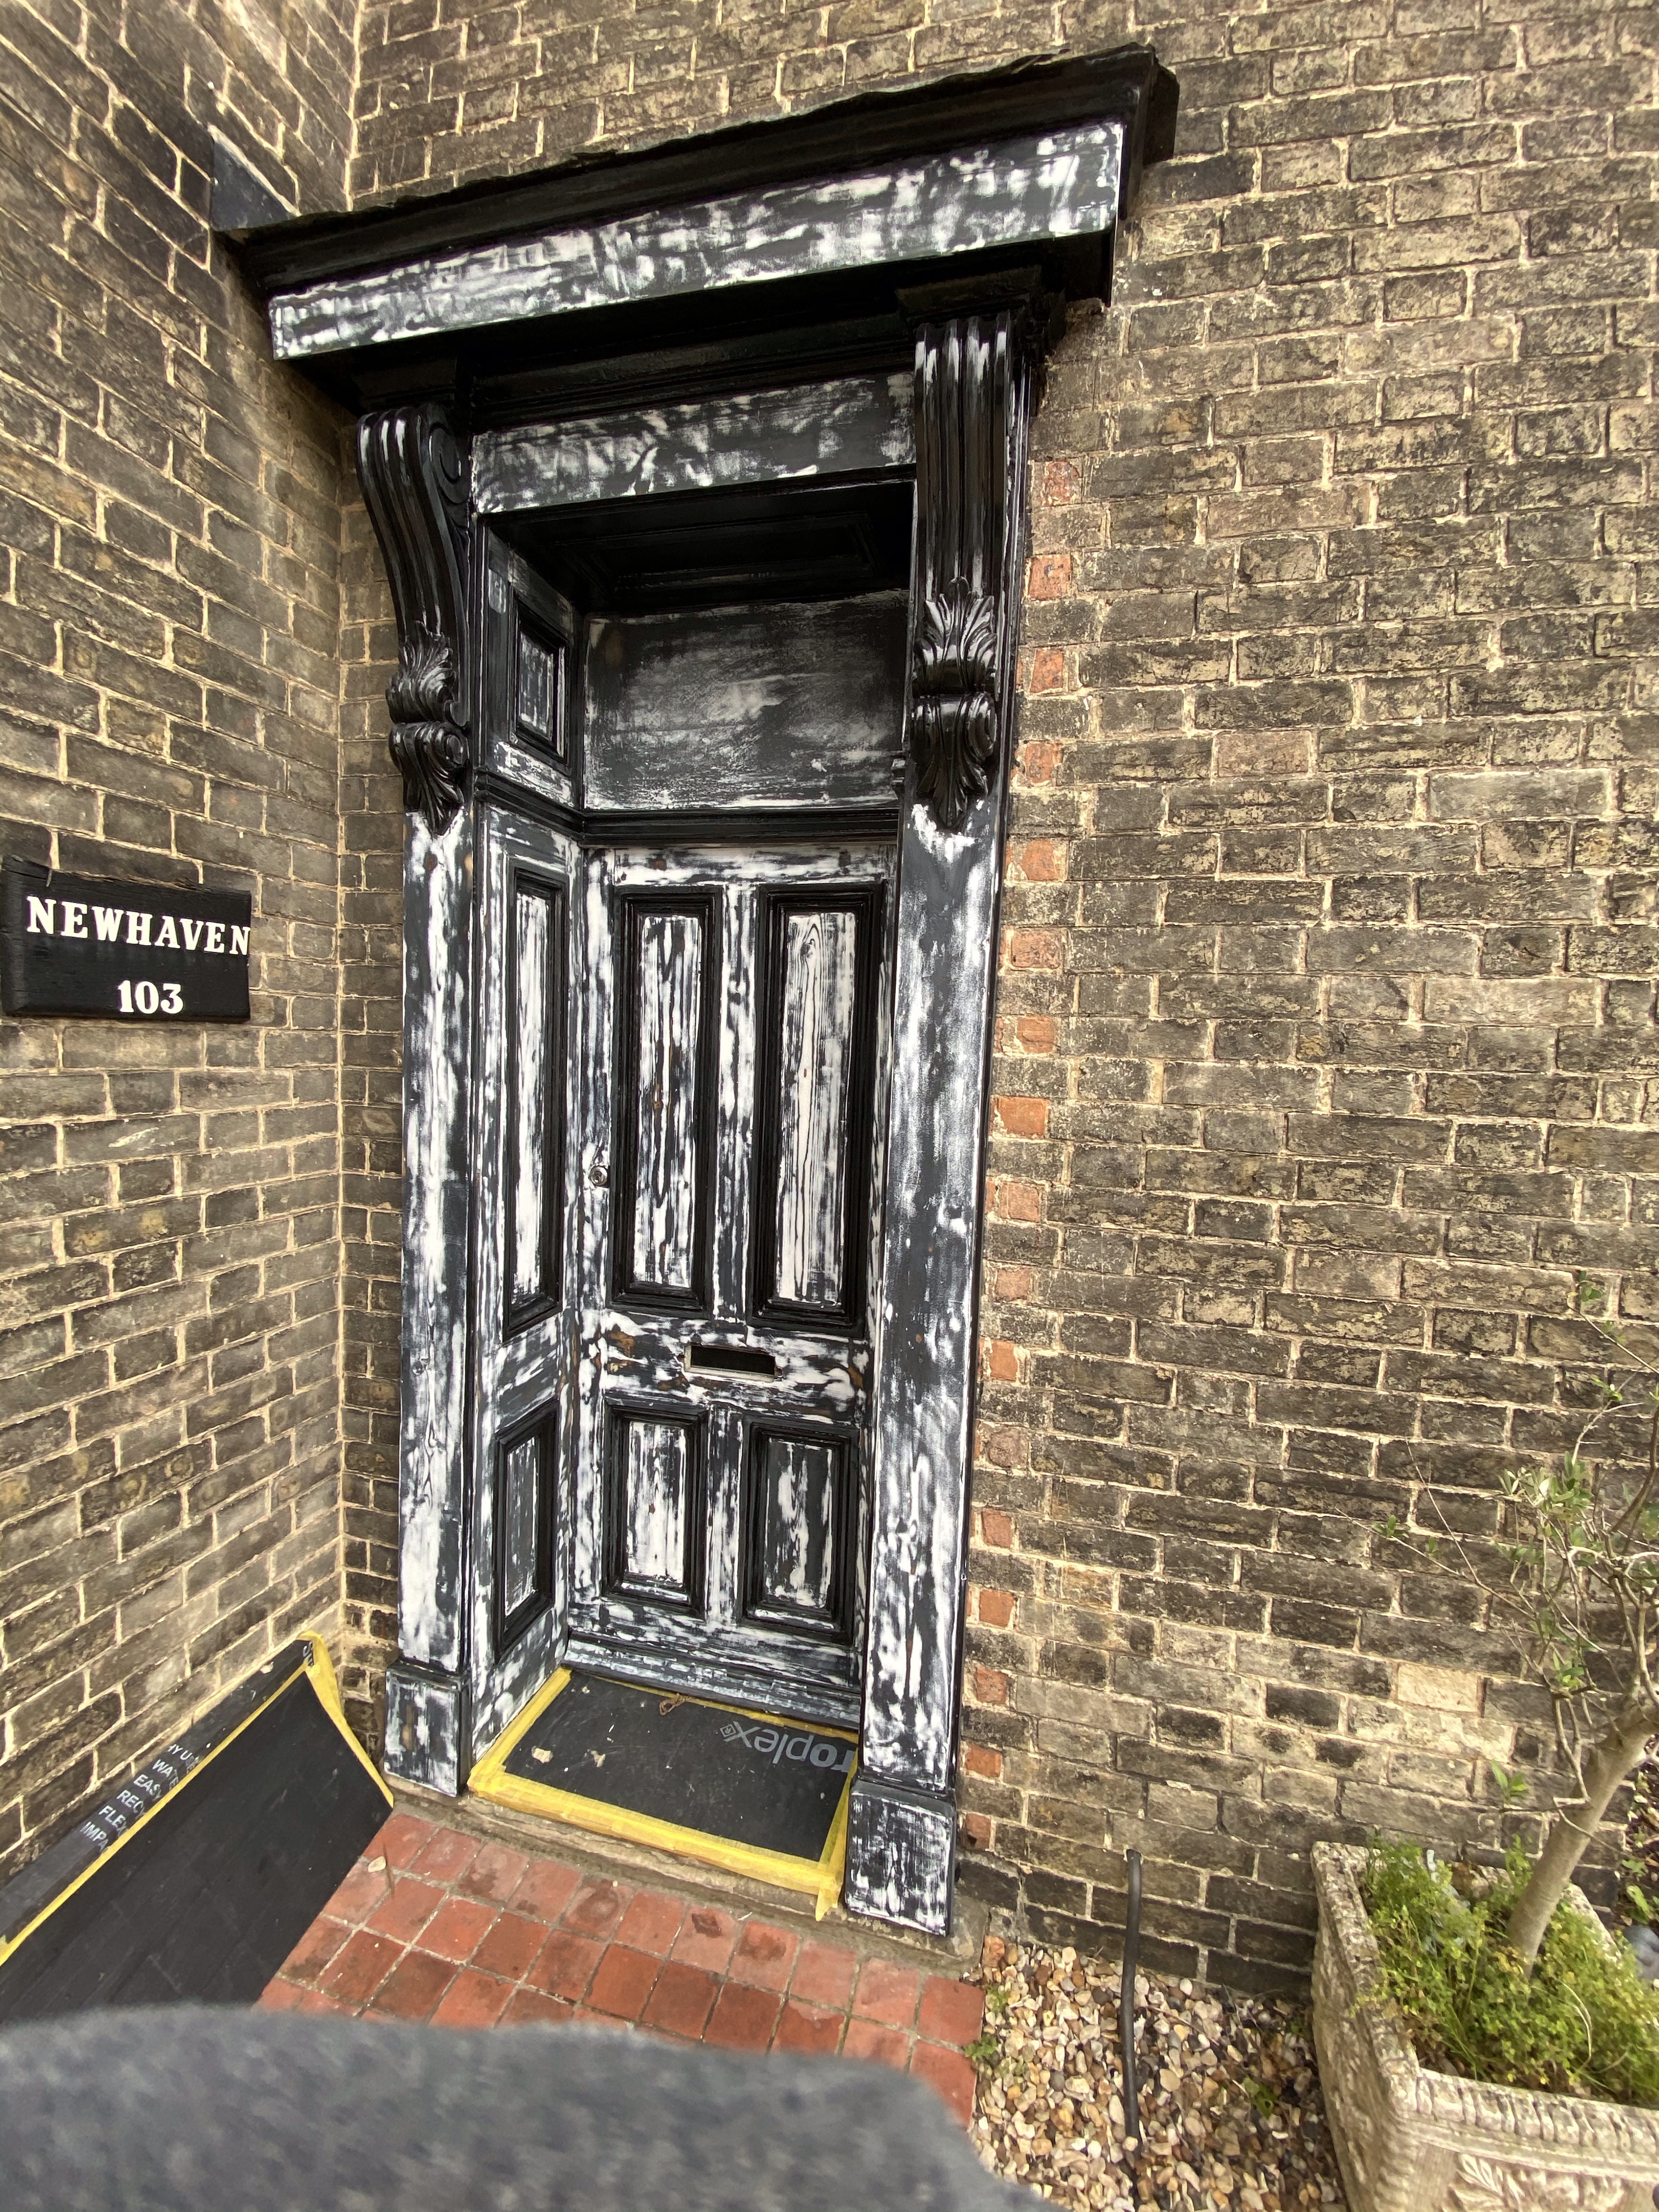
Step 3 – Filling and Priming
A lot of the joins in the door had previously opened up and cracked, so to ensure they didn’t do this again I made a 5mm trench and filled over with Repair Care resin. Once this was fully dry I sanded it back with the RO90, getting those areas smooth and making a key for the paint to adhere.
I used knotting solution on the bare knots. There wasn’t much bleed through from the previous time it was painted but it was worth doubling knotting to give it a fighting chance against the sun.
I applied Otex Oil by Tikkurila in black to show and highlight which areas needed to be refilled. Once the primer was fully dried I used Toupret wood filler for any blemishes and the main bulk of the filling.
For the detailed areas, like around the panels and decorative mouldings, I needed something better then caulk. I needed something flexible. I needed CT1 in black. This product was perfect for the job, not only was it handy that it was in black but its ability to flex with the wood and paint is vital. A top tip if using and you want to easily smooth it- spray it with a spray bottle of either washing up liquid and water or a spray bottle of meths.
After everything was filled and re sanded and smooth once again, I then applied another coat of primer.
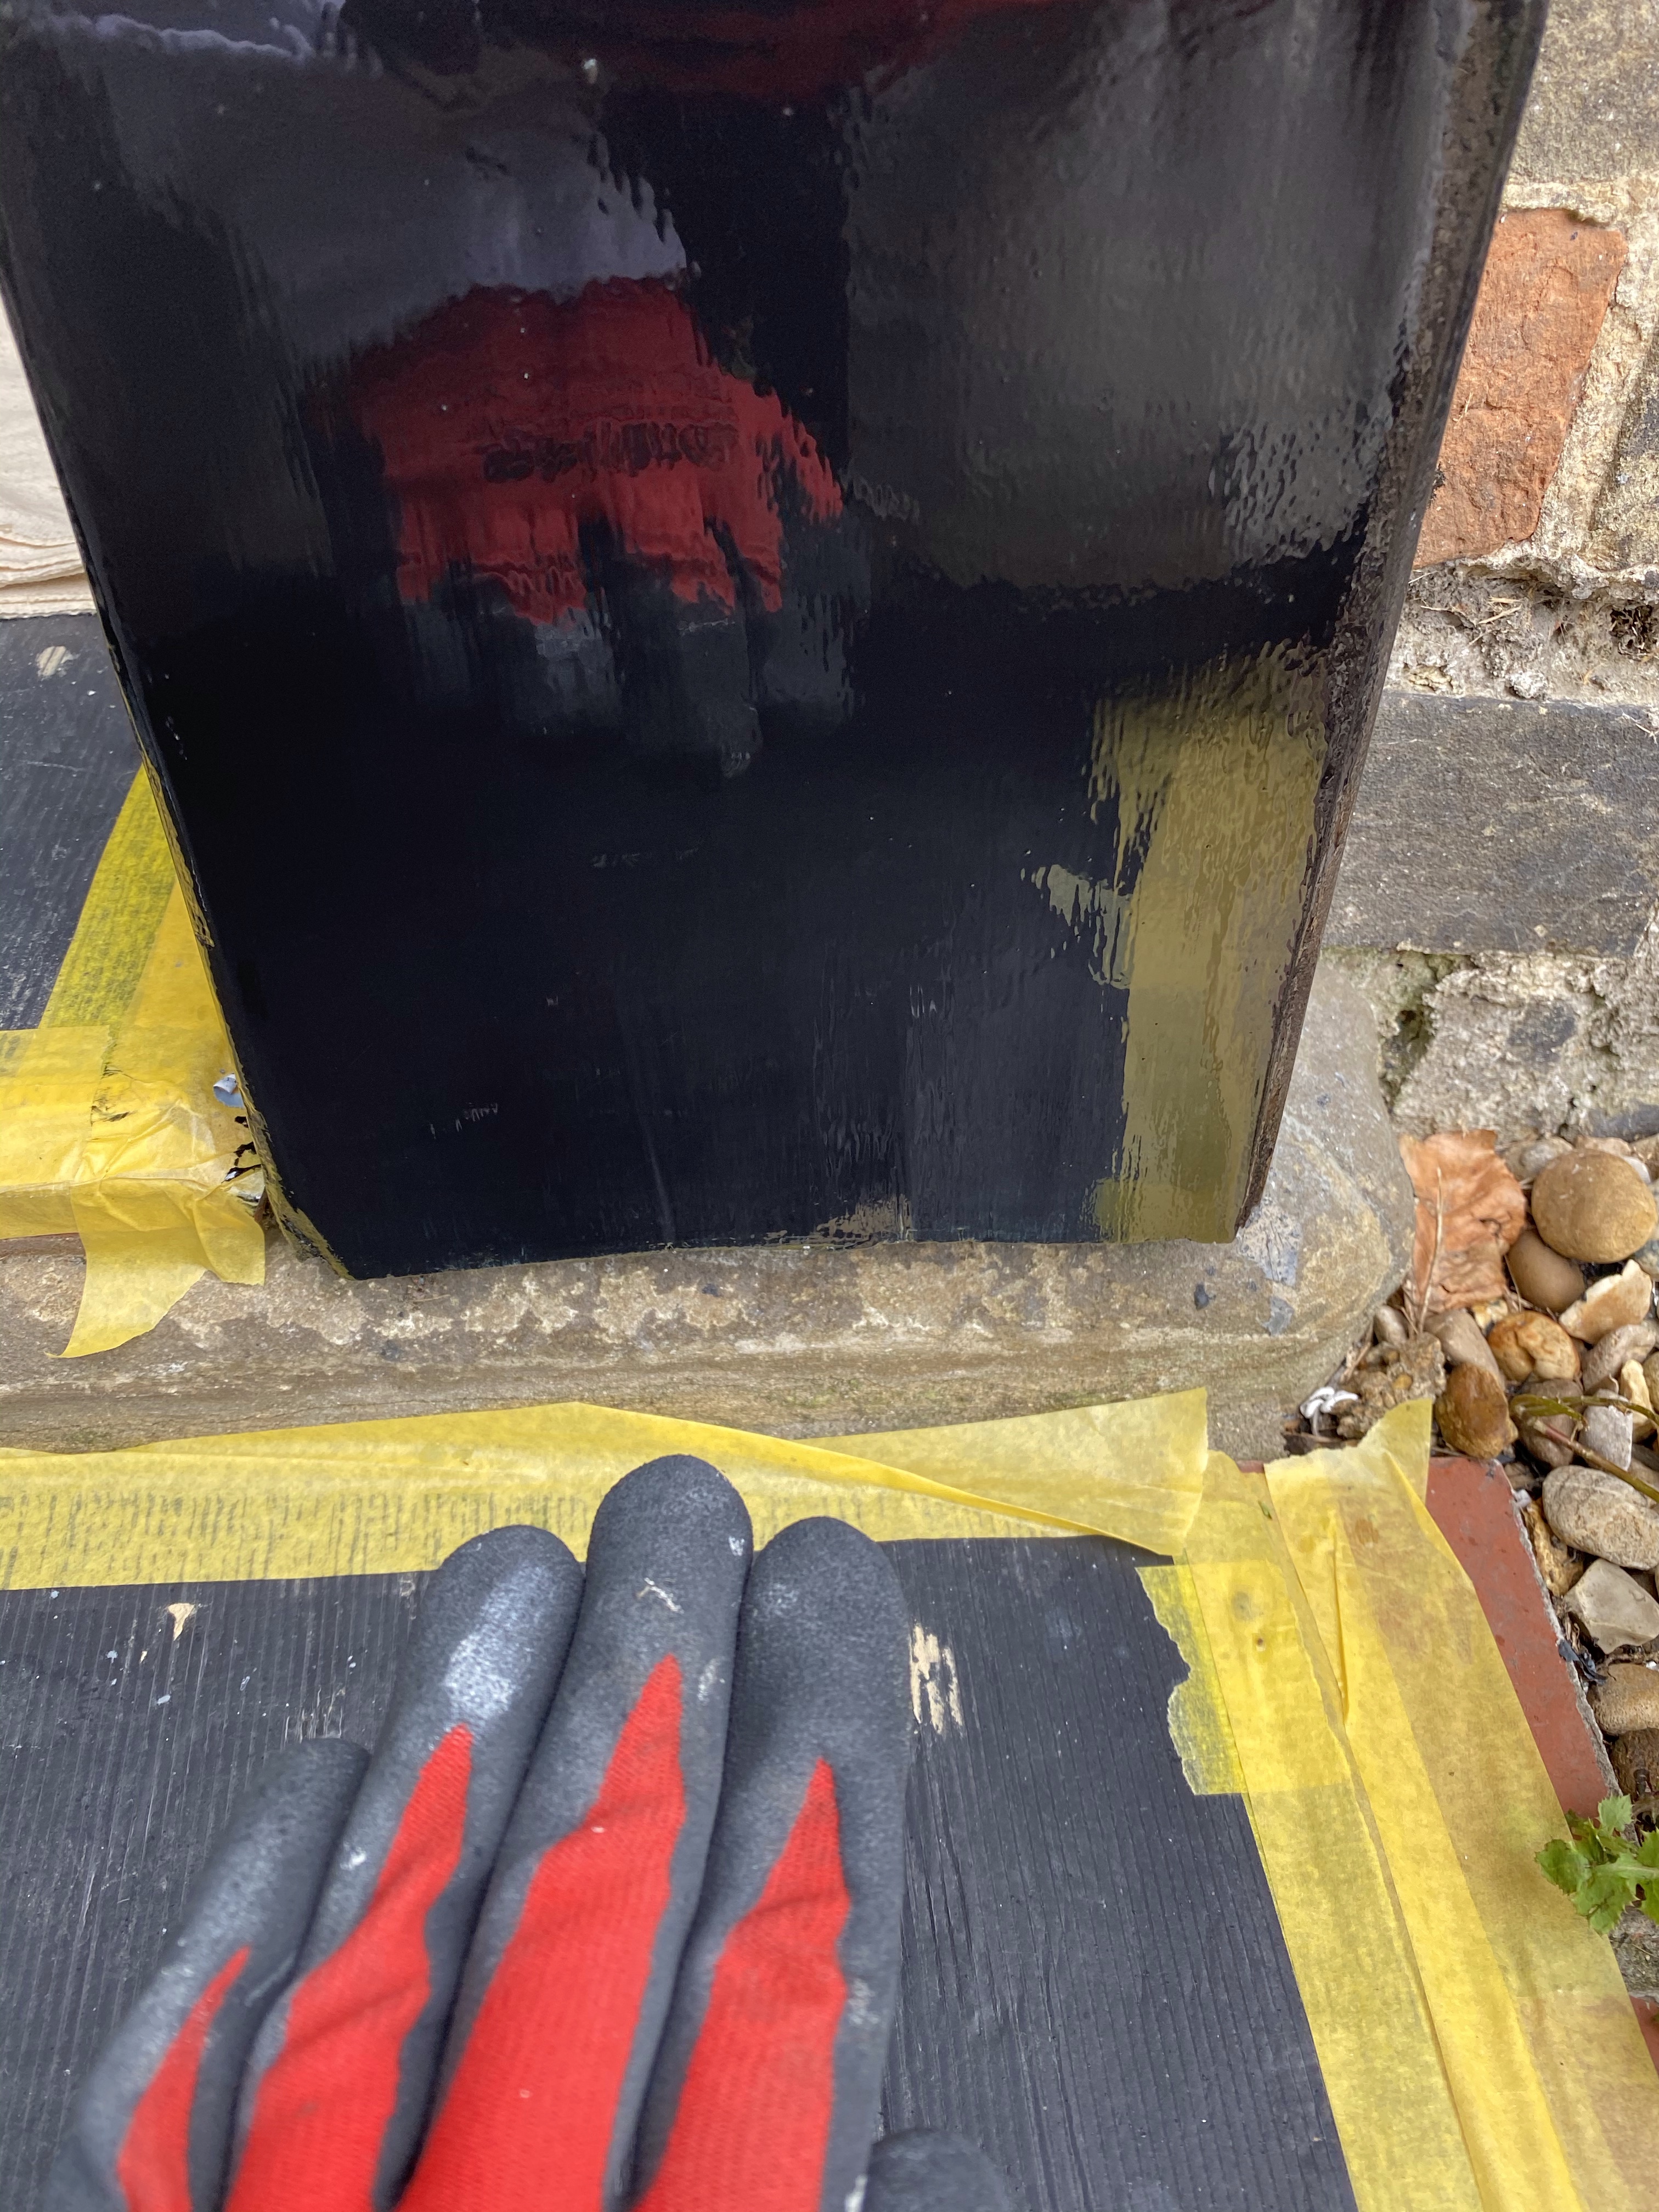
Step 4 – Gloss and Final Fill
The door is now starting to look like a door once again! A quick nib down with a p320 Mirka goldflex and then a coat of Tikkurila Miranol was applied. This really highlighted the areas I needed to fill. Gloss can be so unforgiving, so from this moment on I really needed to pay attention. I used Toupret Gras a Laquer filler and applied a skim to all the flats of the door and frame. Once this was dry, I sanded it back with a used p400 on the Festool RTS, this gave me a great flat finish. When I washed the door and frame afterwards I could tell then that the hard work was beginning to pay off. The reflection was beautiful, even without the paint on. I then re primed the filled areas with gloss so the door and frame was fully coated again.
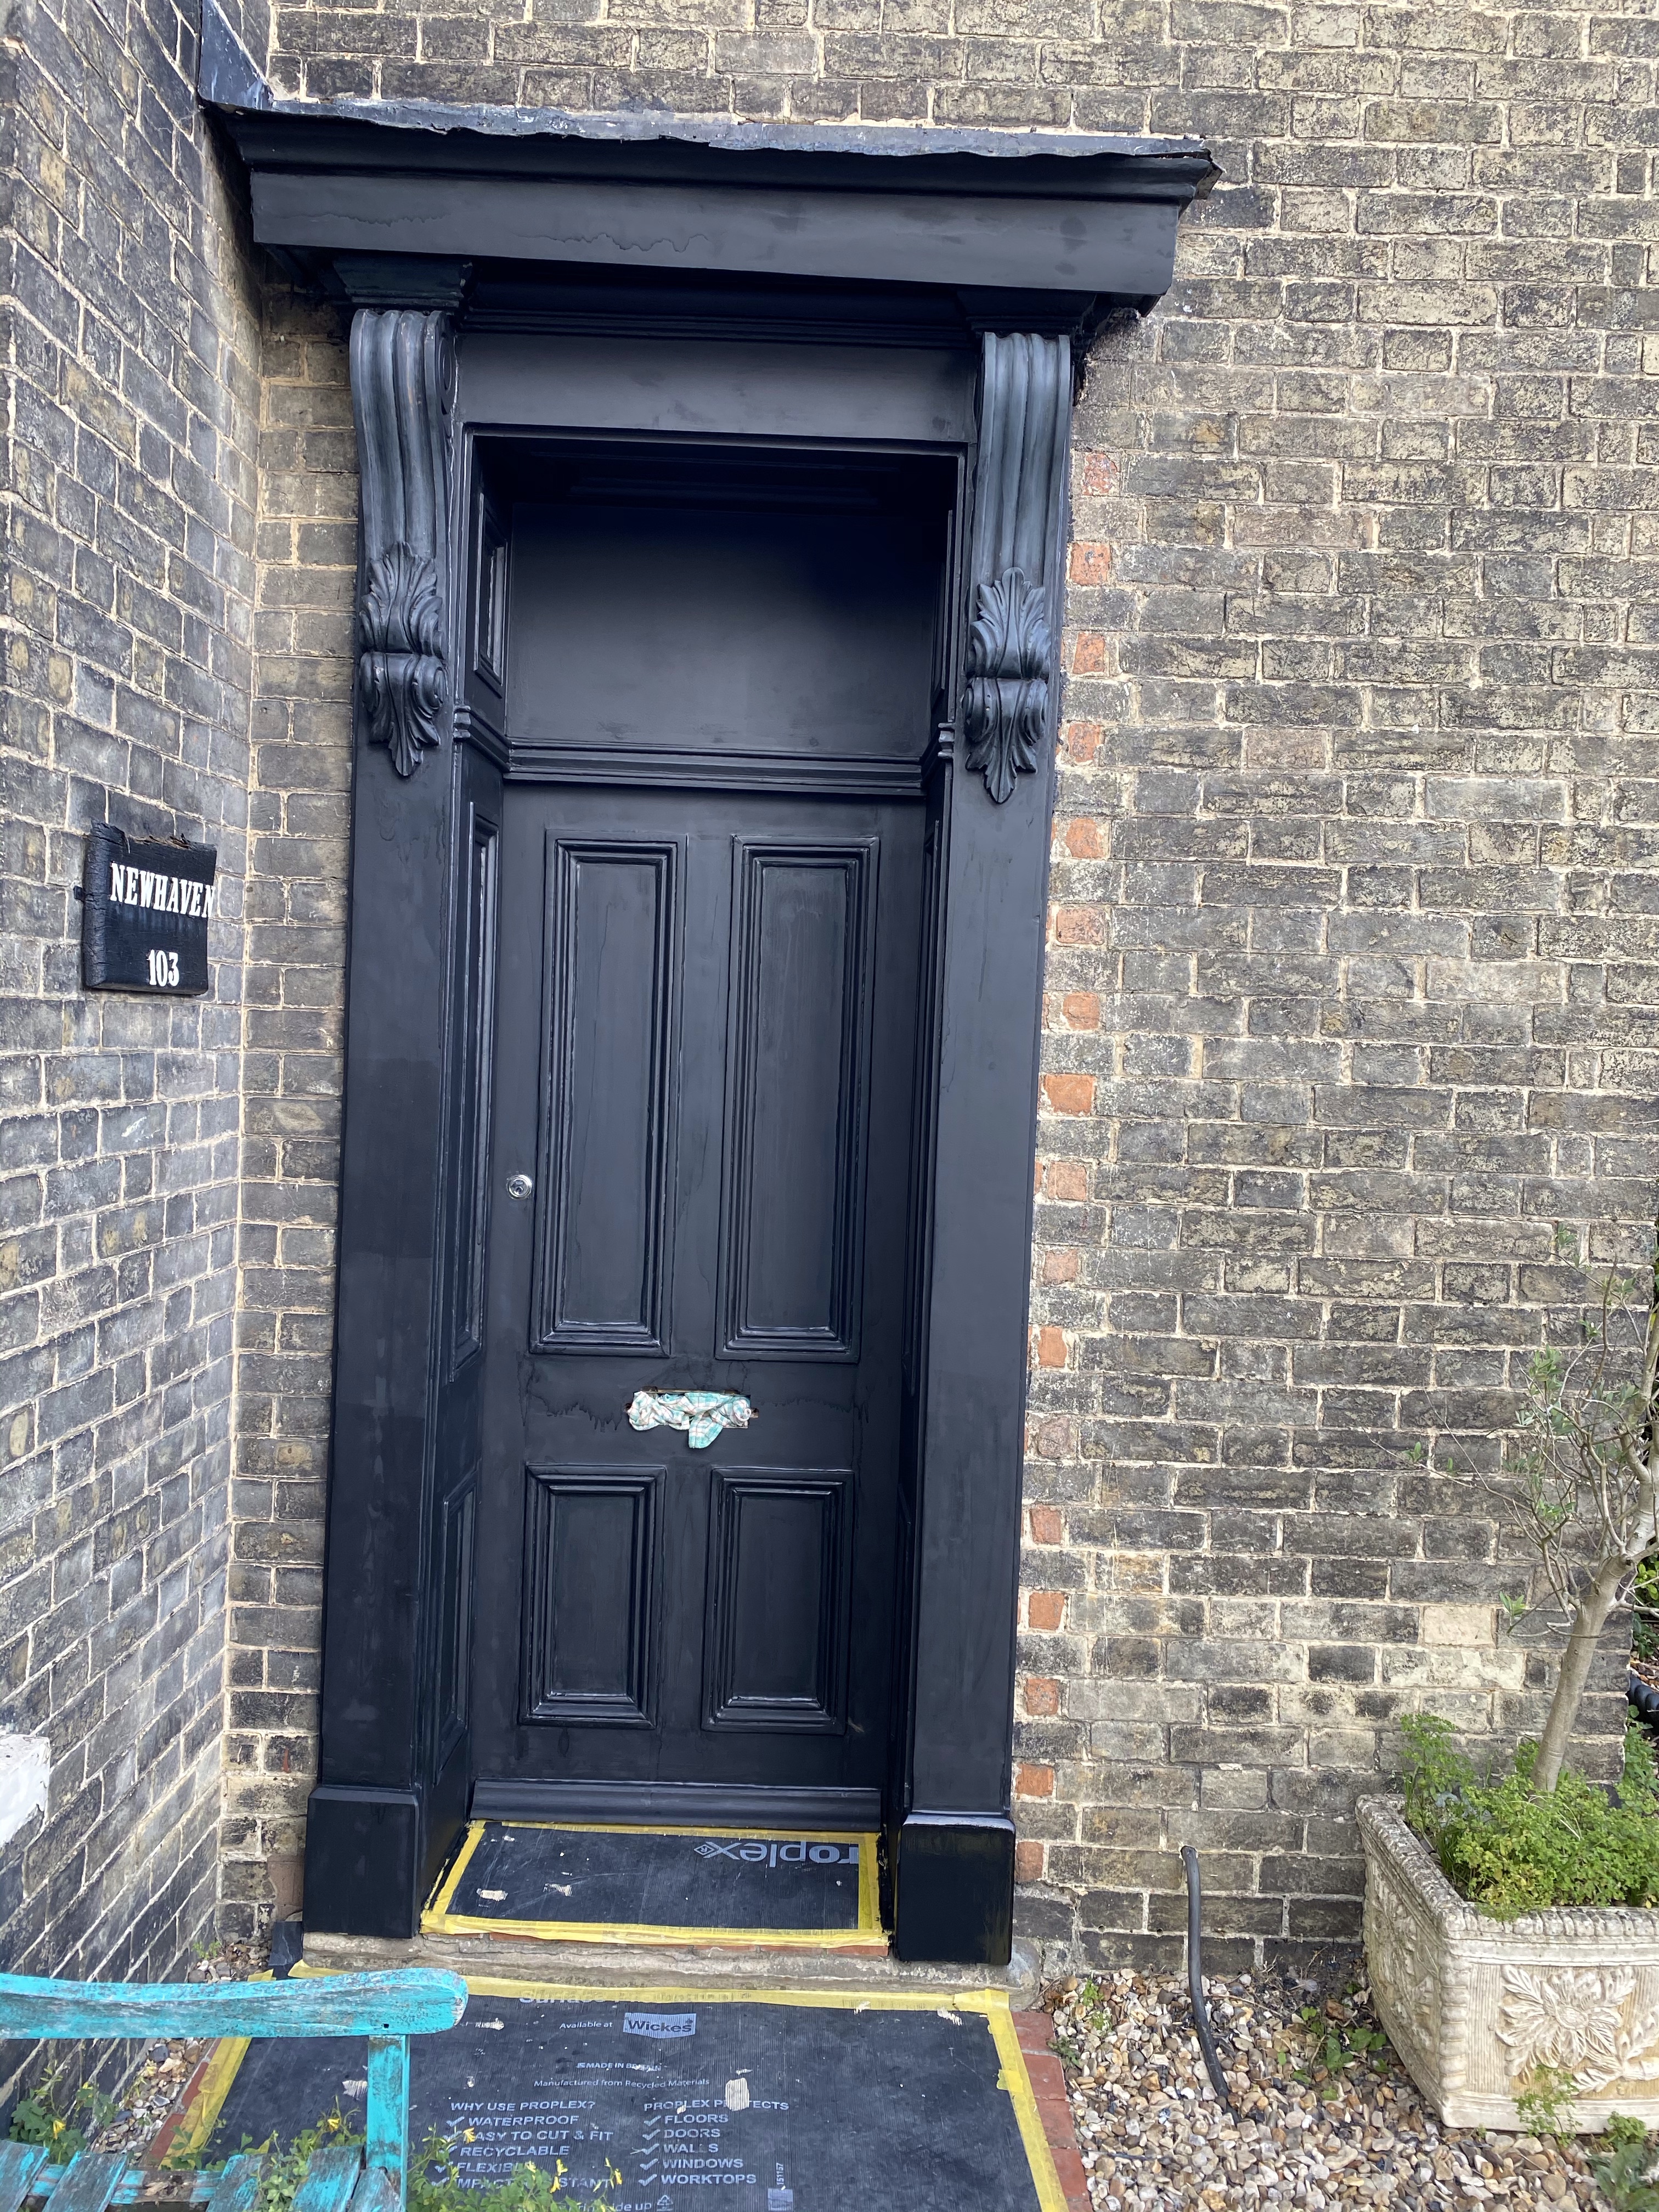
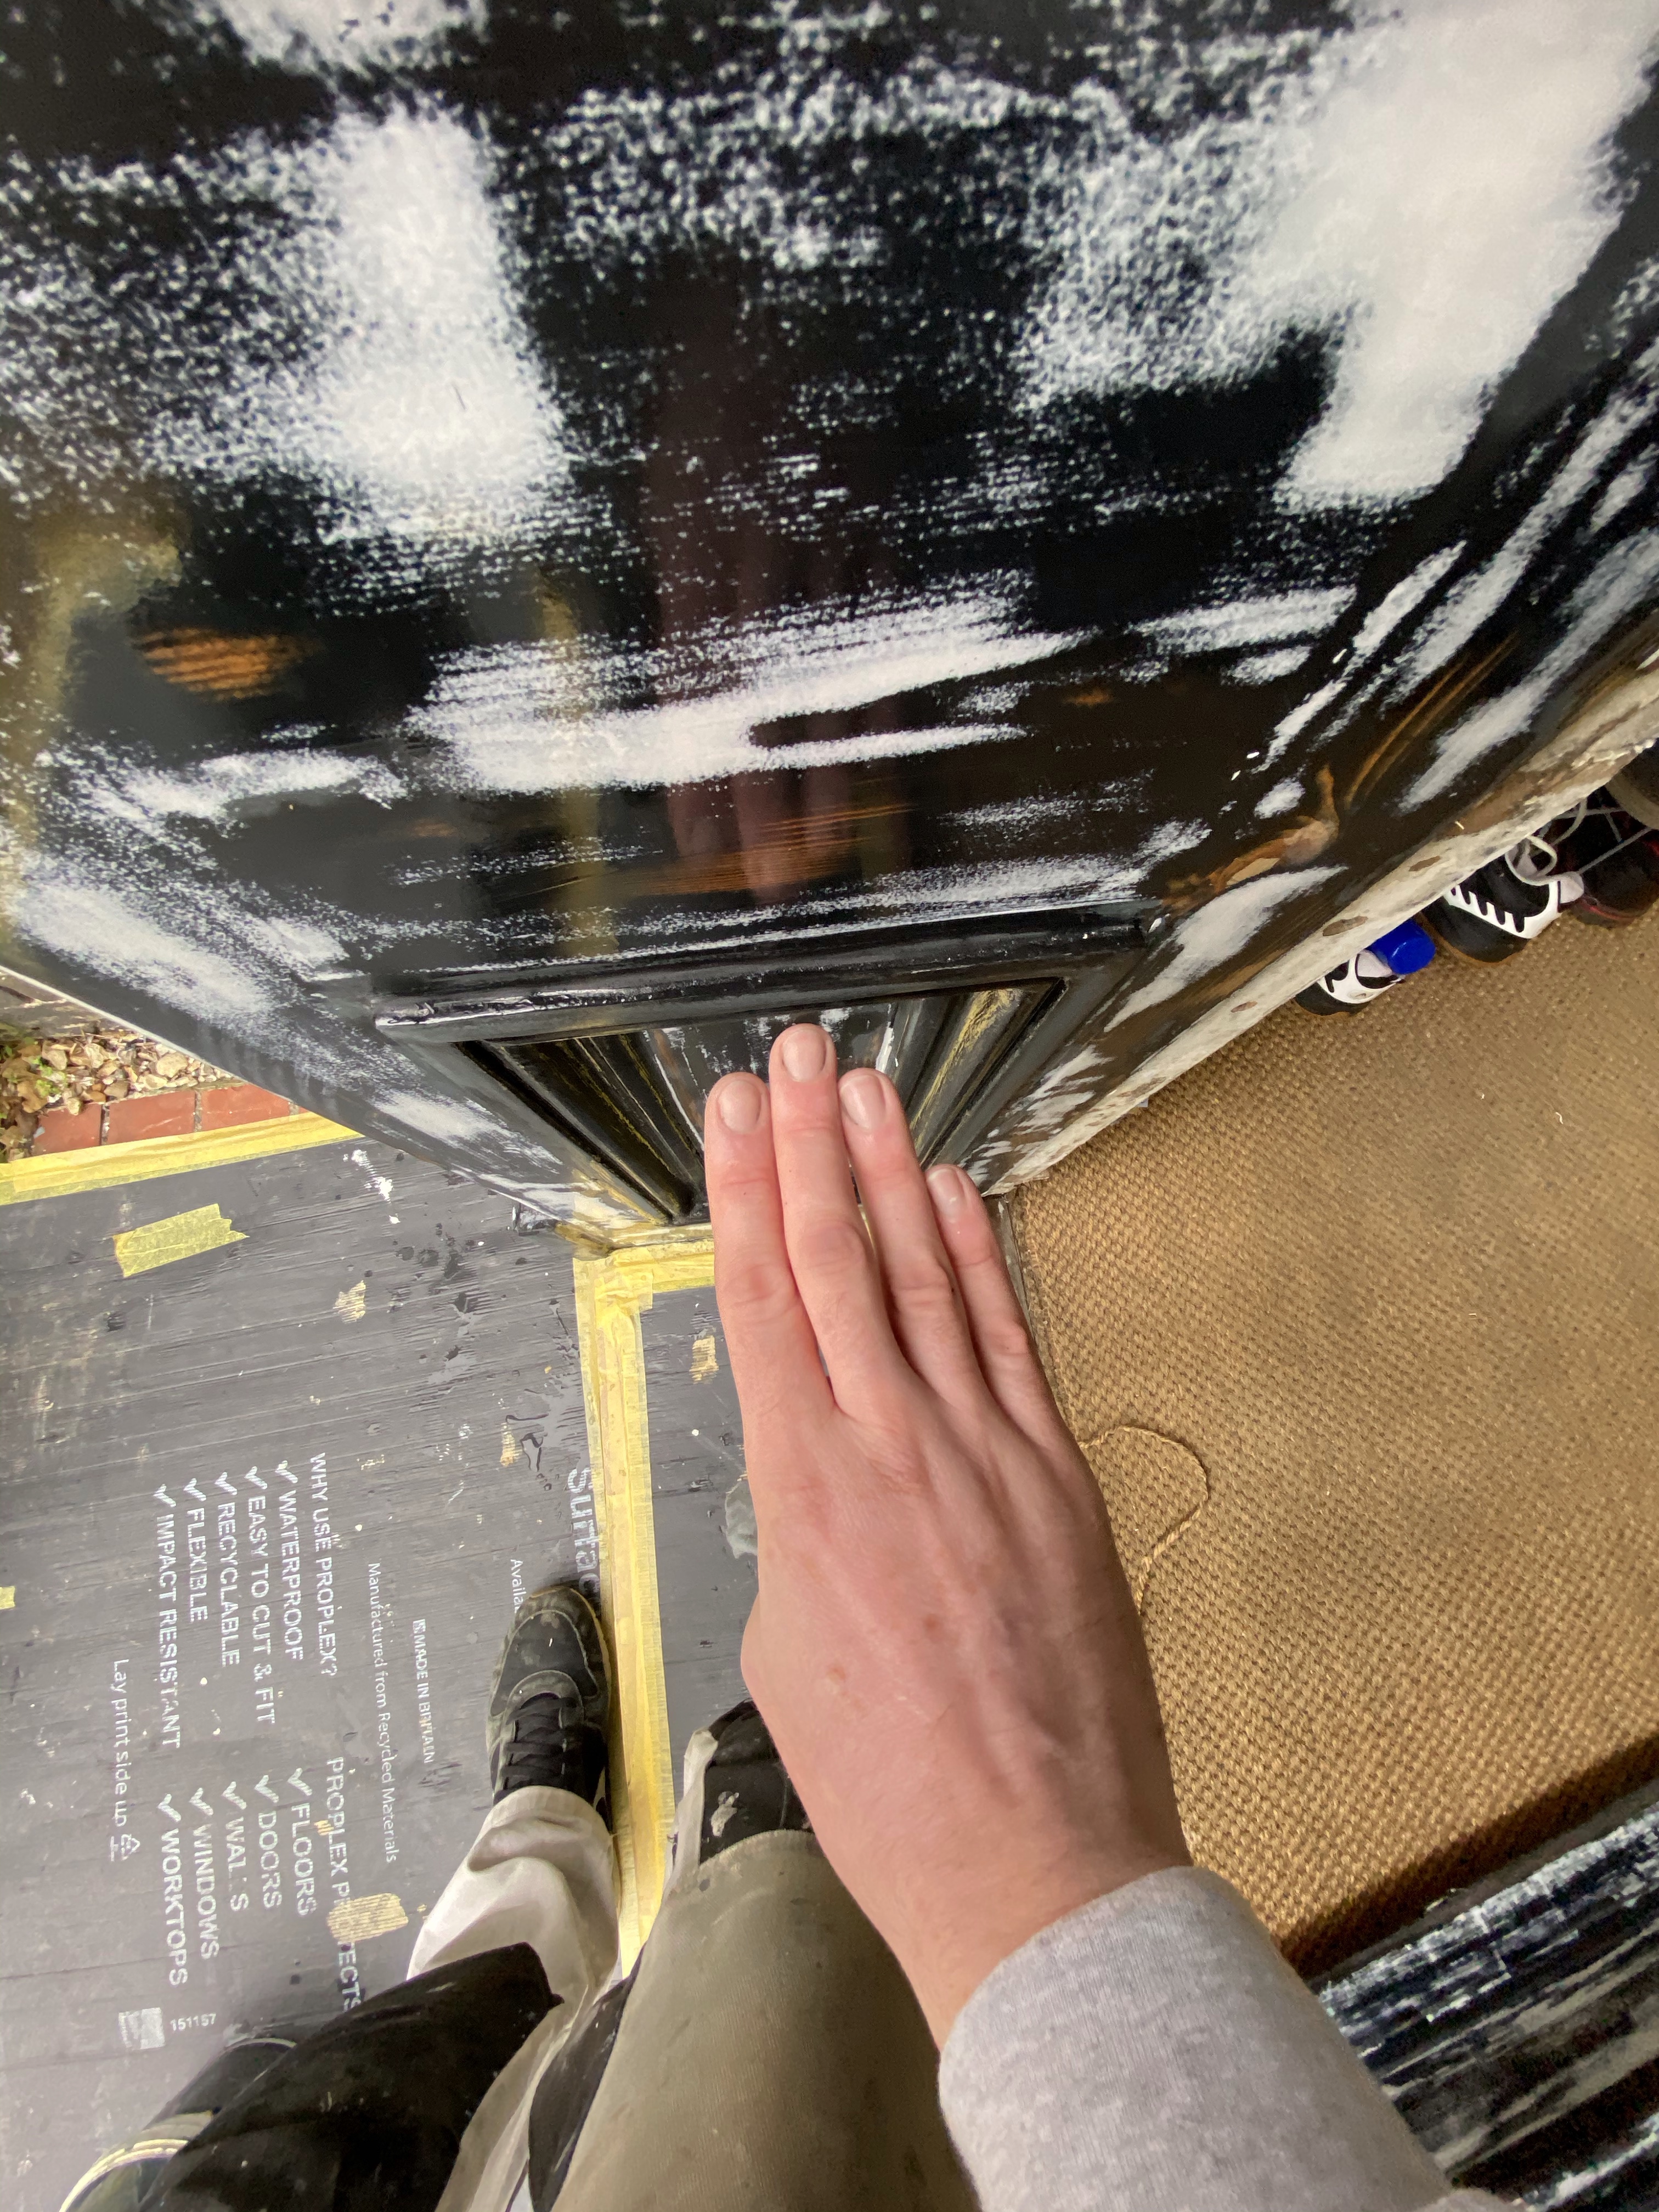
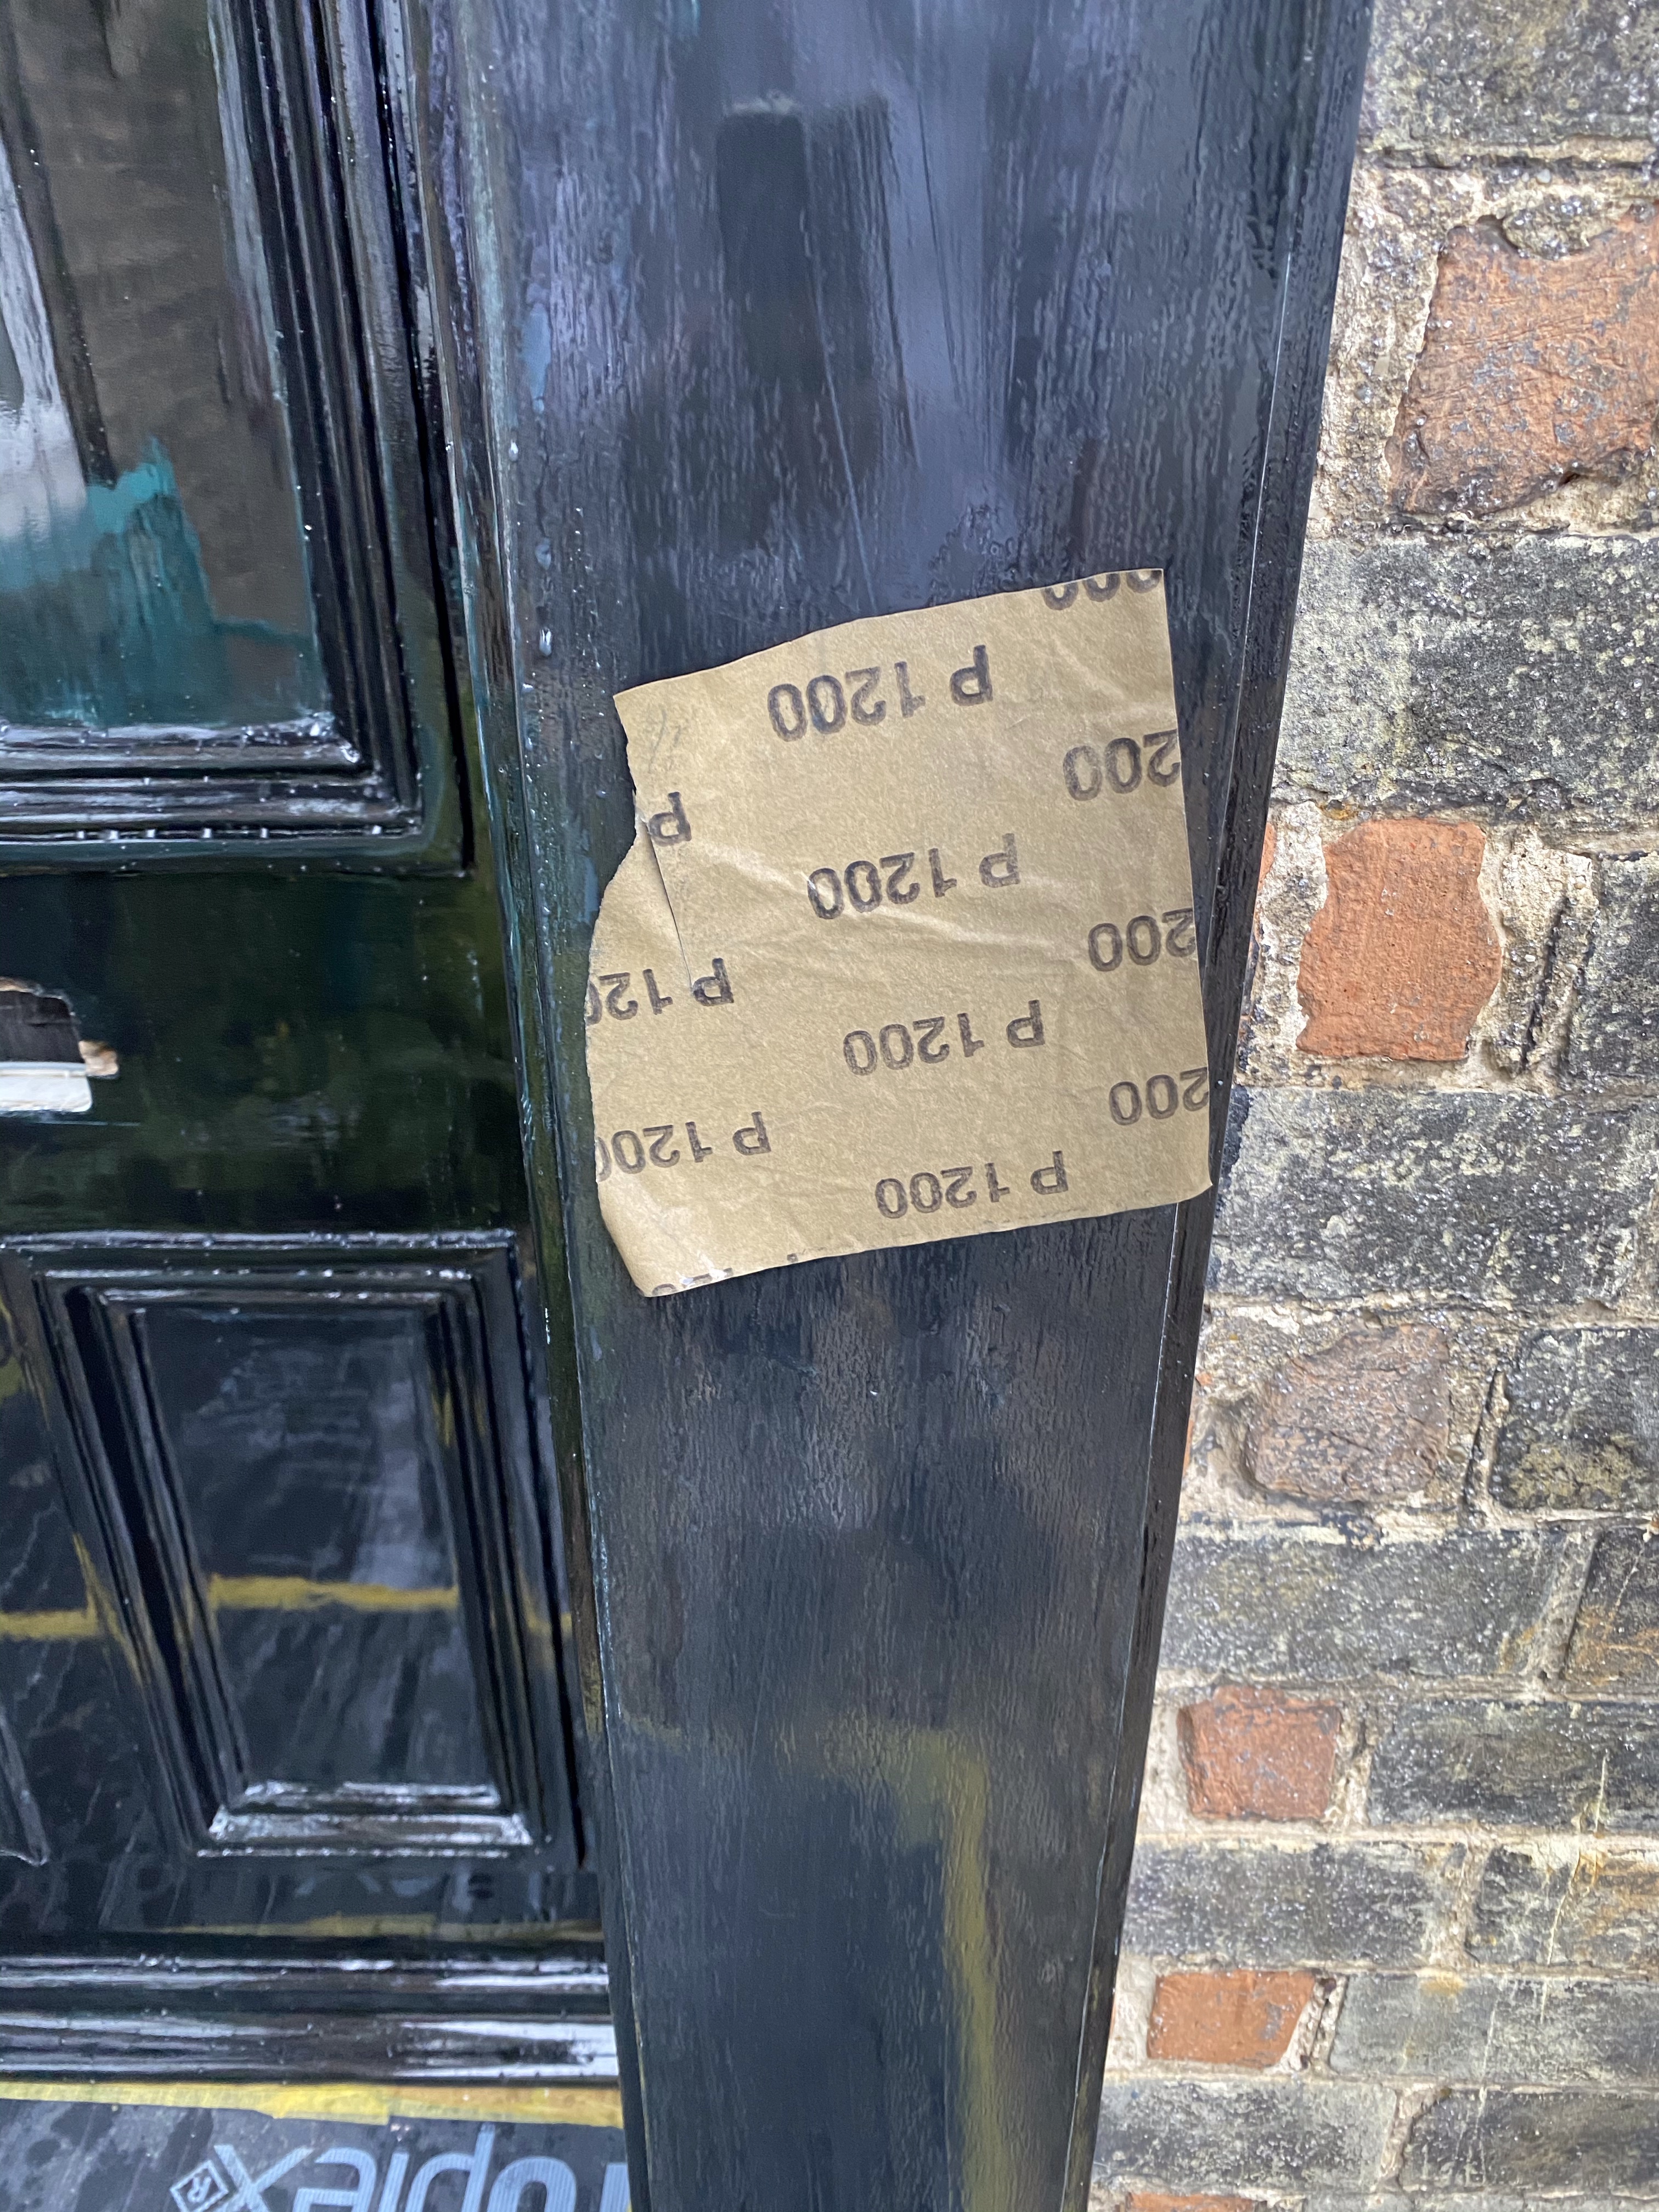
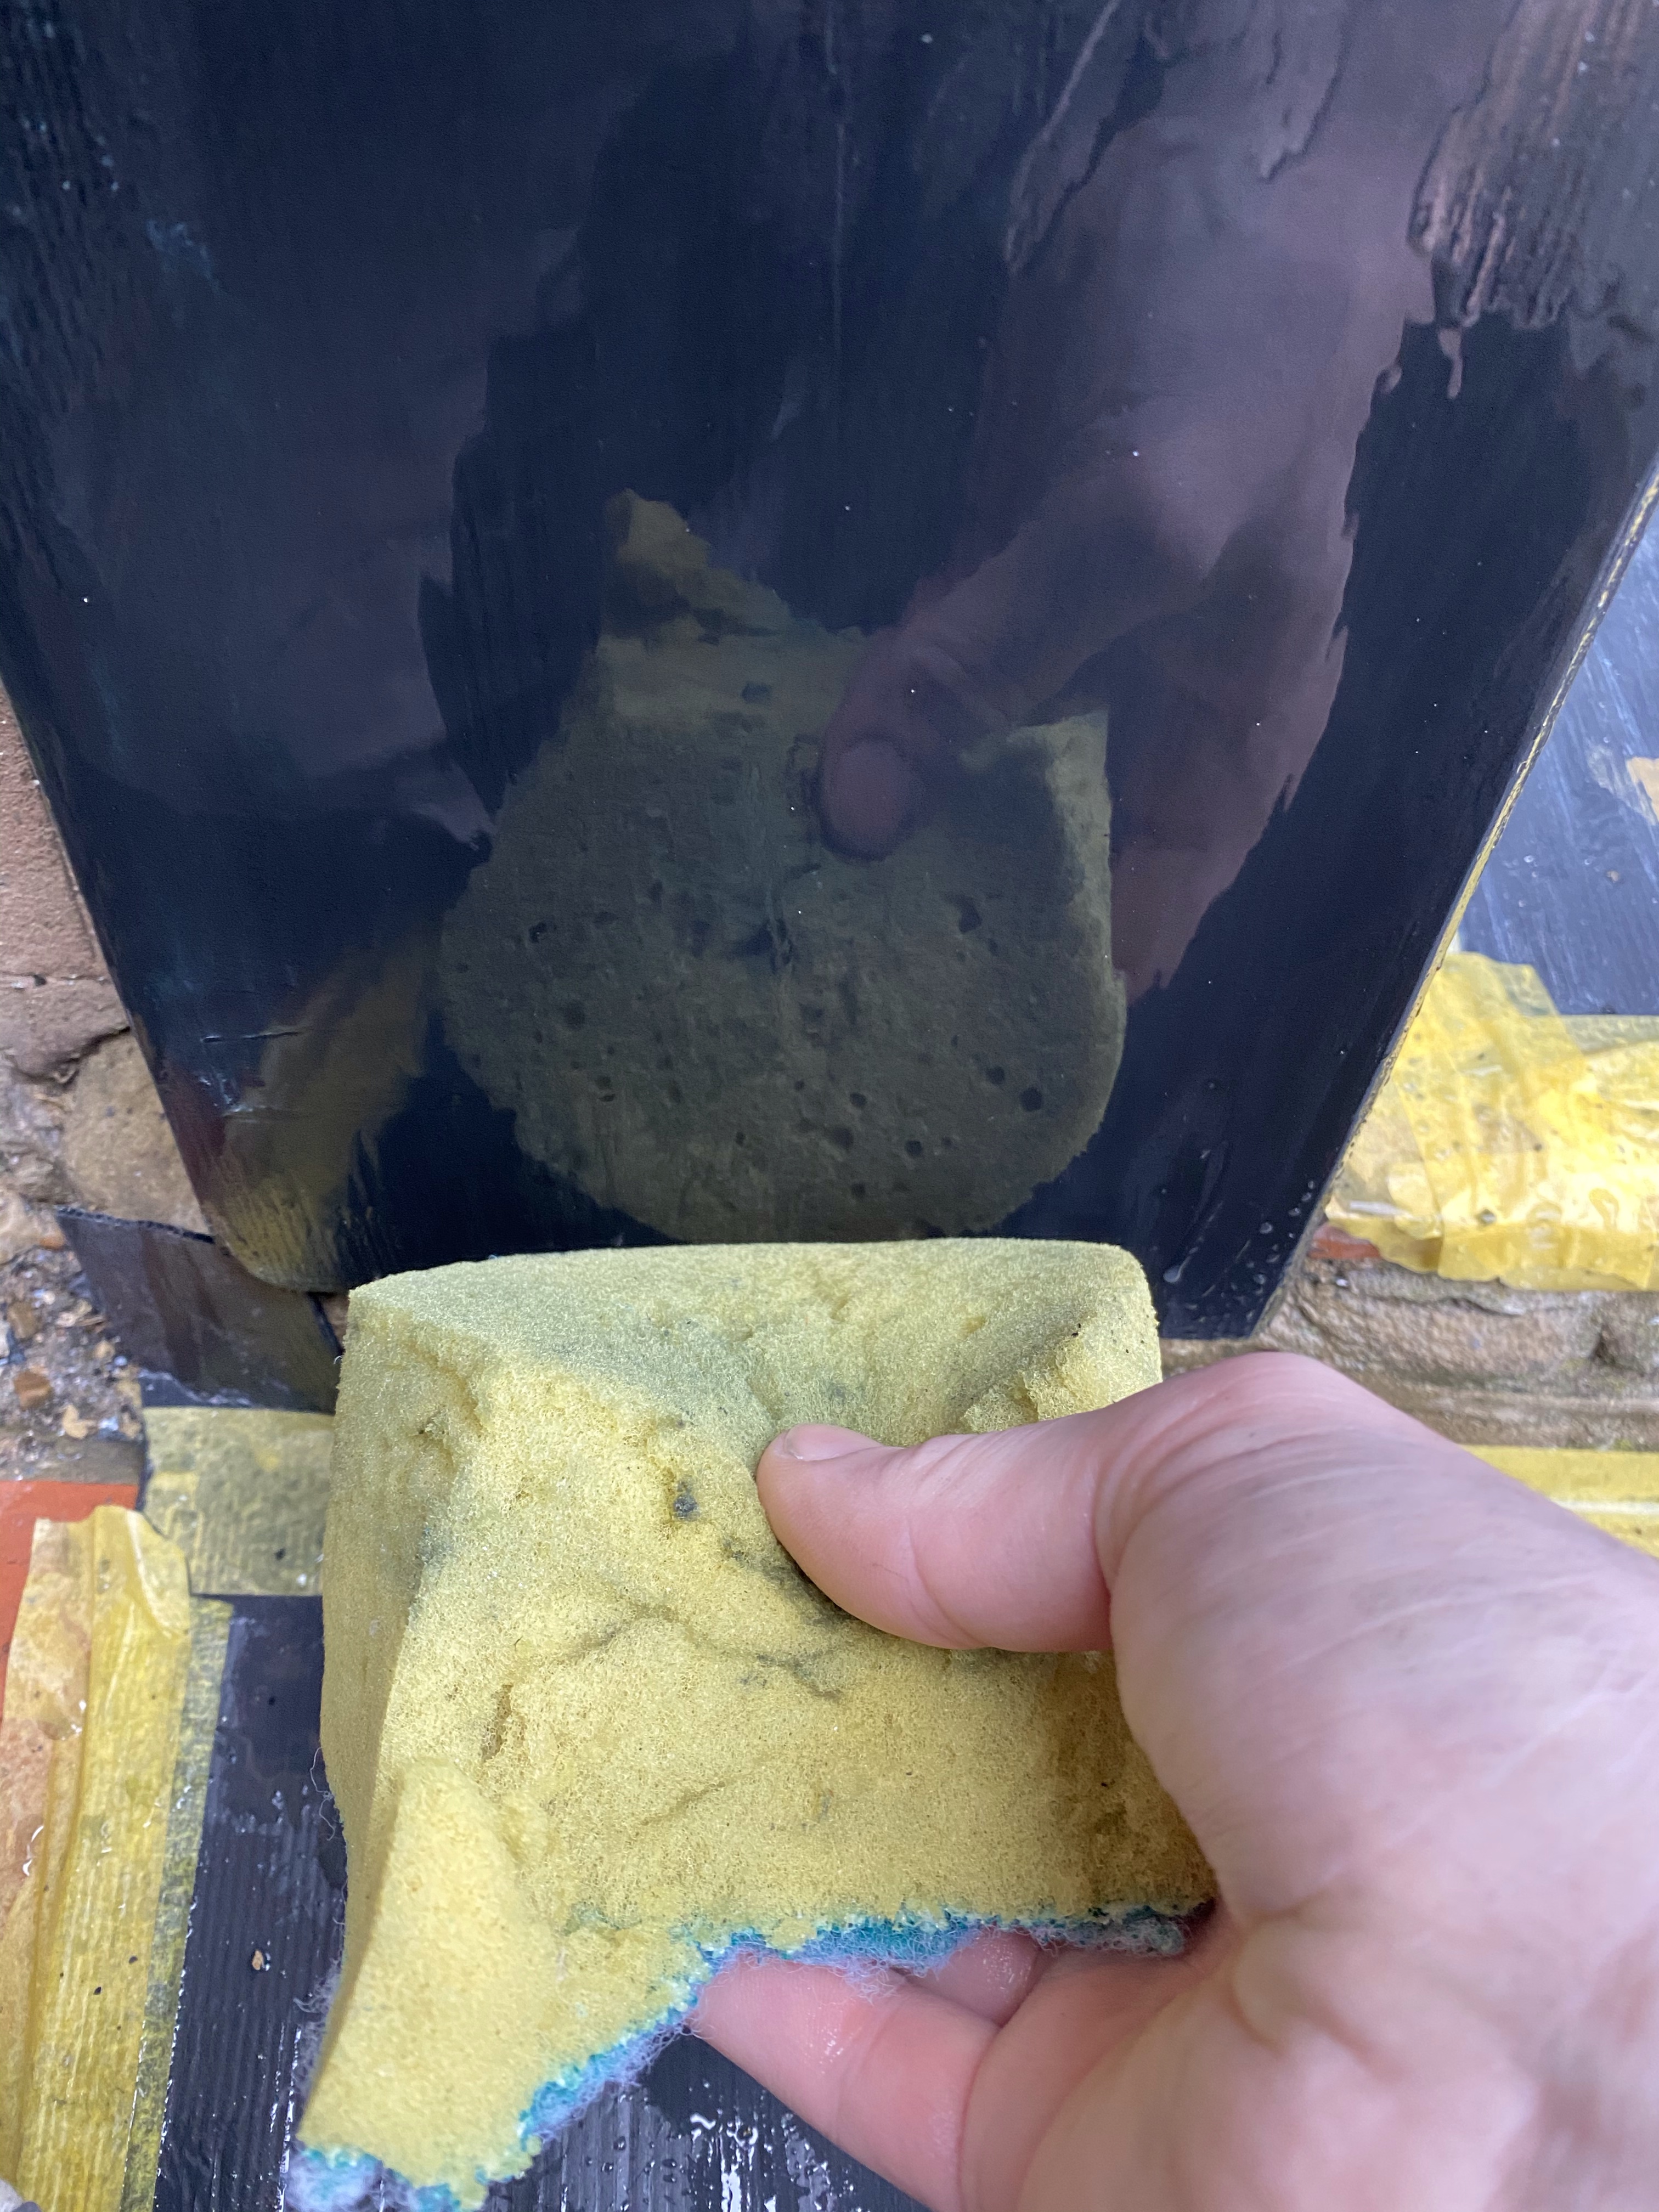
Step 5 – Wet and Dry and Final Gloss
This final step is what made it for me. The first coat was looking good, after I had sanded it with wet and dry….. my goodness, it was feeling so flat! That’s why you need to use wet and dry sandpaper, you’re able to almost buff up the surface ready for that last coat to slip on. I applied the final coat of gloss, stood back and smiled, only to see a my reflection smiling back. Now all that was left to do was to install the new door knocker and reinstall the old letter box opener, but I’ll leave that for a different blog post.
Advice
If you are thinking about using Tikkurila Miranol on a future project here’s a few tips to help you-
• Use a roller and brush combo. Cut in a section, evenly roll out the paint, lay it off instantly and leave it. It’s a discipline not to just give it one more brush over. It doesn’t like to be over brushed unlike other gloss’s I’ve used in the past.
• The other is use paint conditioner to help the flow of the product. Without it it’ll be hard to get a decent level and finish.